
CAFM Way User Guide
Requestor App
The mobile app building occupants and staff use to report a fault, follow the job to the end and rate the service.
requestor.cafm-way.com · Last updated: 26 Sep 2026
Getting started
This guide is for the people who report problems in a building: office staff, tenants and guests. It covers everything the Requestor app does, from signing in to rating a finished job.
What the app is for
- Who: anyone with a requestor account in your company (staff, tenants, guests)
- Where: the CAFM Way Requestor app on Android or iPhone, or
requestor.cafm-way.comin a phone browser
With the app you:
- Report a fault at a location or on a piece of equipment, with a photo.
- See who the job went to and how it is moving.
- Talk to the technician and the facilities team about the job.
- Approve or reject extra-cost work the team quotes for your request.
- Rate the service when the work is done.
The facilities team does everything else: assigning, scheduling, closing and cancelling jobs happen in their web app.
Your request at a glance
Every request you raise becomes a service request with its own number (for example SR-2026-0001) and a work order for the team. This is what you see as it moves:
flowchart TD
    A[You raise the request] --> B[Assigned]
    B --> C[In Progress]
    C --> D[Resolved]
    D --> E[You rate the service]
    B --> F[Closed by the team]
    C --> F
C -.-> Q[Quotation to approve]| Status on your card | What it means | Found under filter |
|---|---|---|
| Assigned | The request arrived and was routed to a team or technician, or waits for the team to assign it | Open, Being handled |
| In Progress | A technician accepted or started the job, or it is being checked before sign-off | Open, Being handled |
| Resolved | The work is complete | Done |
| Closed | The facilities team cancelled or rejected the job | Done |
| Awaiting approval (extra badge) | Your company requires an internal approval first; no work starts until it is approved | |
| 3 h late (extra badge) | The job has passed its service-level deadline |
Sign in
- Who: any requestor
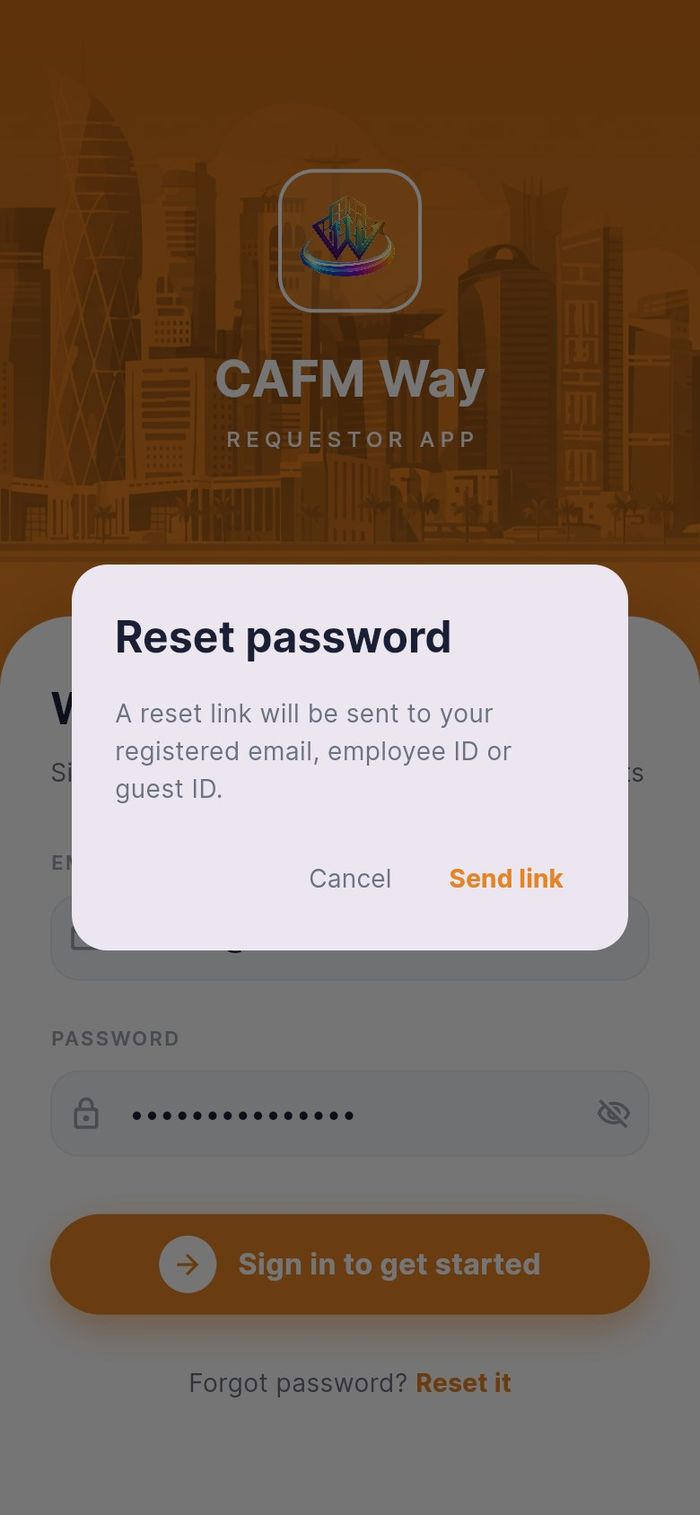
- Where: the sign-in screen that opens with the app
When the app starts, a short intro video plays. Tap Skip to close it, or Don't show again to stop it for good.
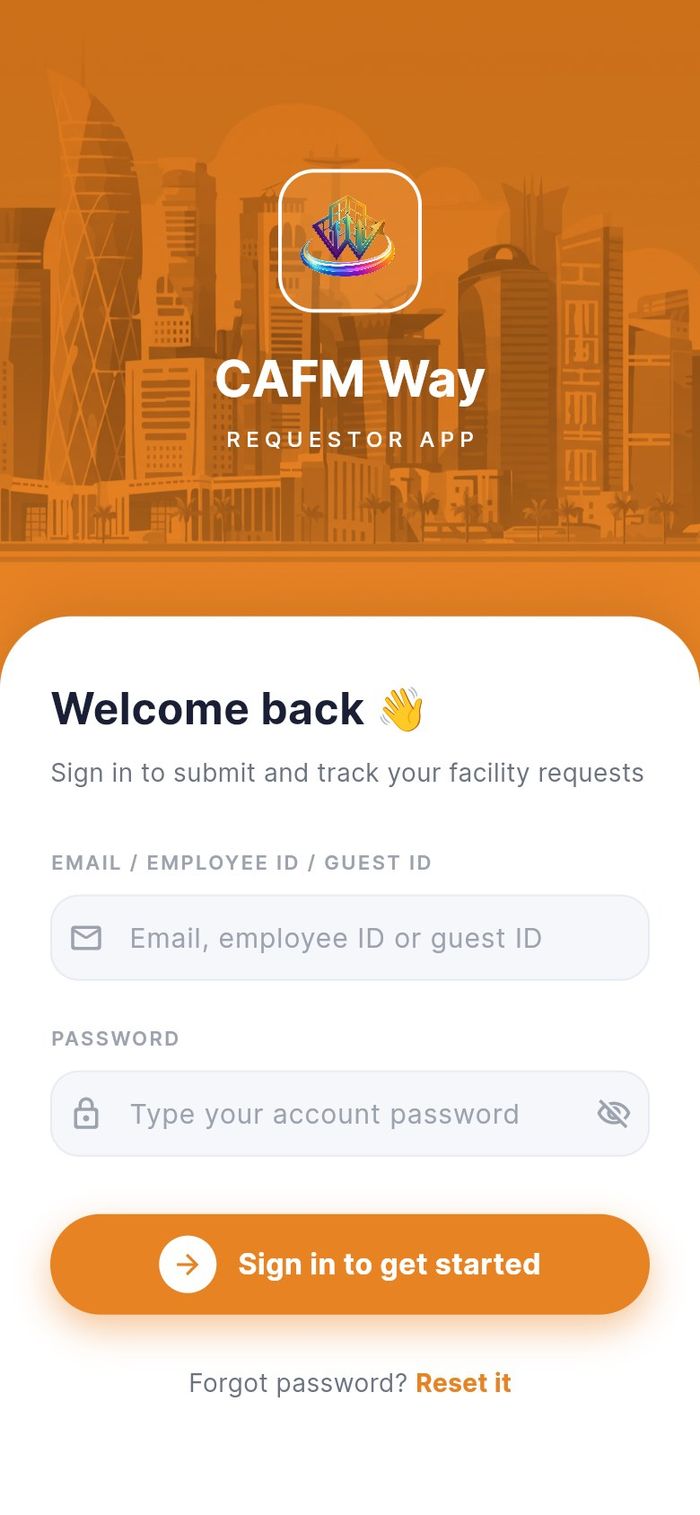
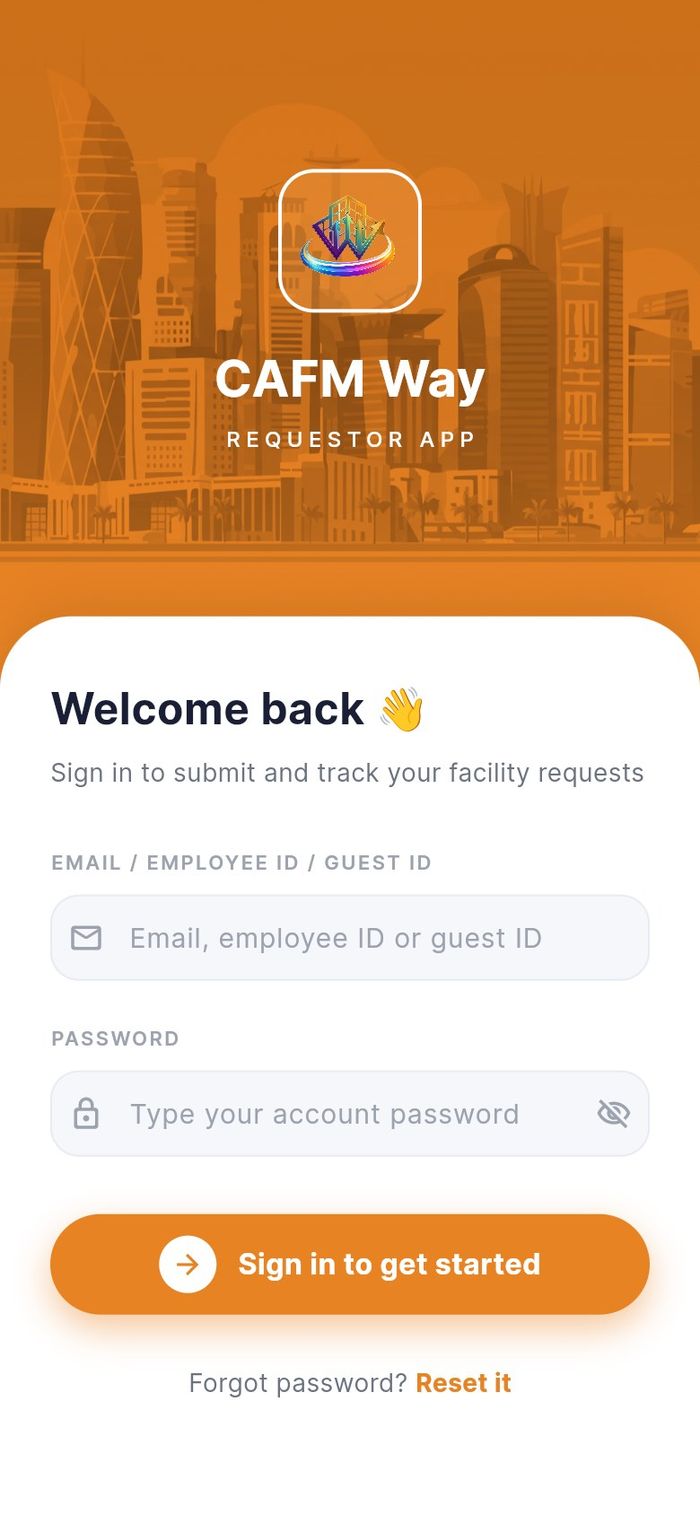
- In EMAIL / EMPLOYEE ID / GUEST ID, type your email address, your employee ID (for example
EMP-0008) or your guest ID. - In PASSWORD, type your password. The eye icon shows or hides it.
- Tap Sign in to get started. The Home screen opens.
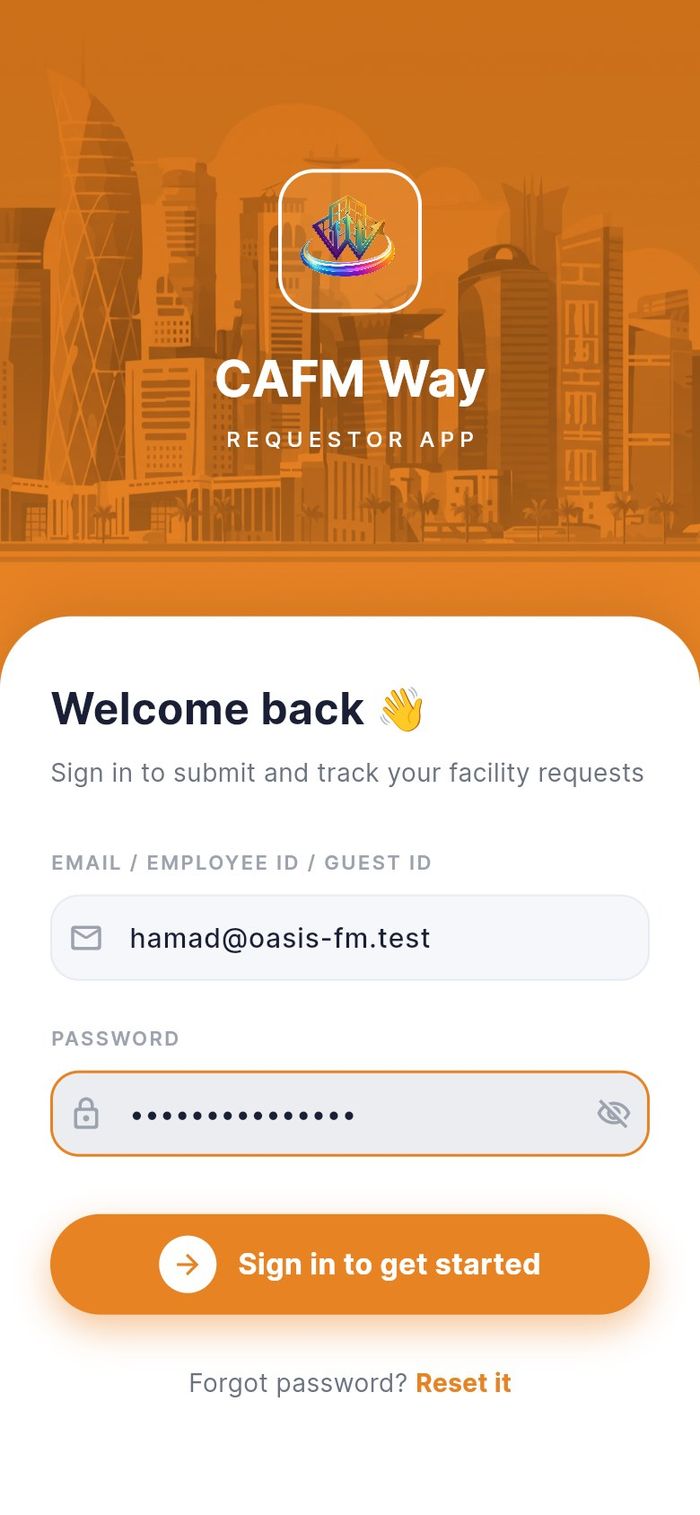
The app remembers you. Next time it opens straight on Home until you sign out.
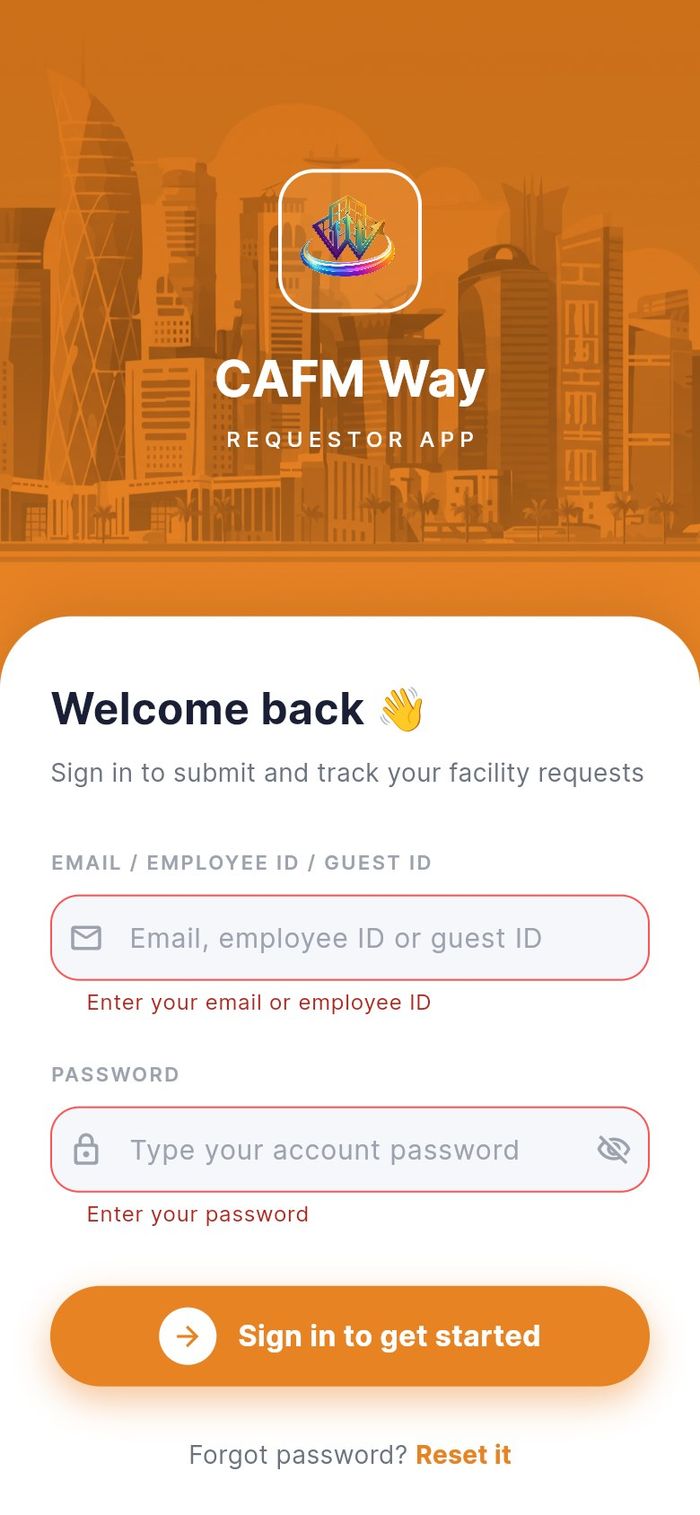
If a field is empty, the form says so under the field.
Find your way around
- Who: any requestor
- Where: Home tab
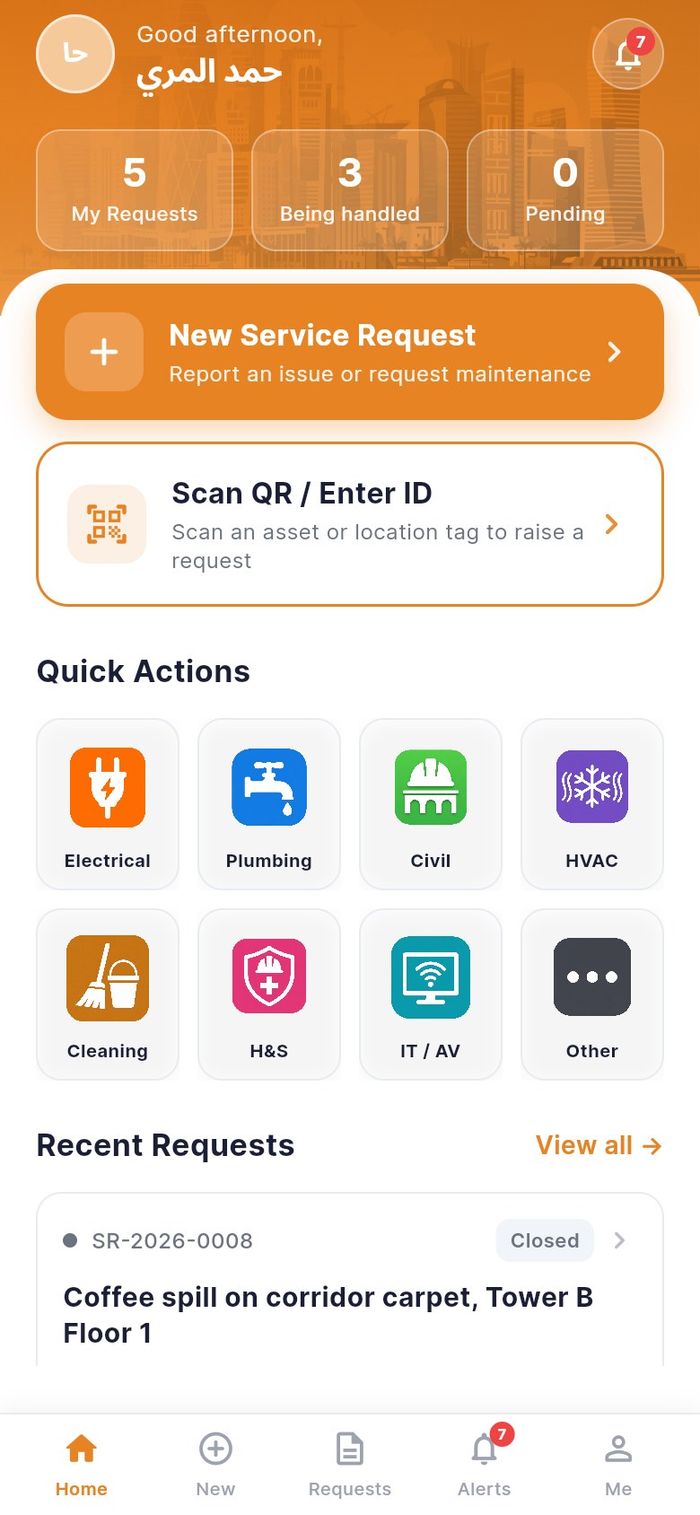
The bottom bar has five tabs: Home, New (raise a request), Requests (your list), Alerts (notifications) and Me (profile and settings).
Home shows:
- Your name and a bell with the number of unread alerts. Tap the bell to open Alerts.
- Three counters: My Requests (all your requests), Being handled (Assigned and In Progress) and Pending.
- New Service Request to raise a request, and Scan QR / Enter ID to start from a label.
- Quick Actions: Electrical, Plumbing, Civil, HVAC, Cleaning, H&S, IT / AV and Other.
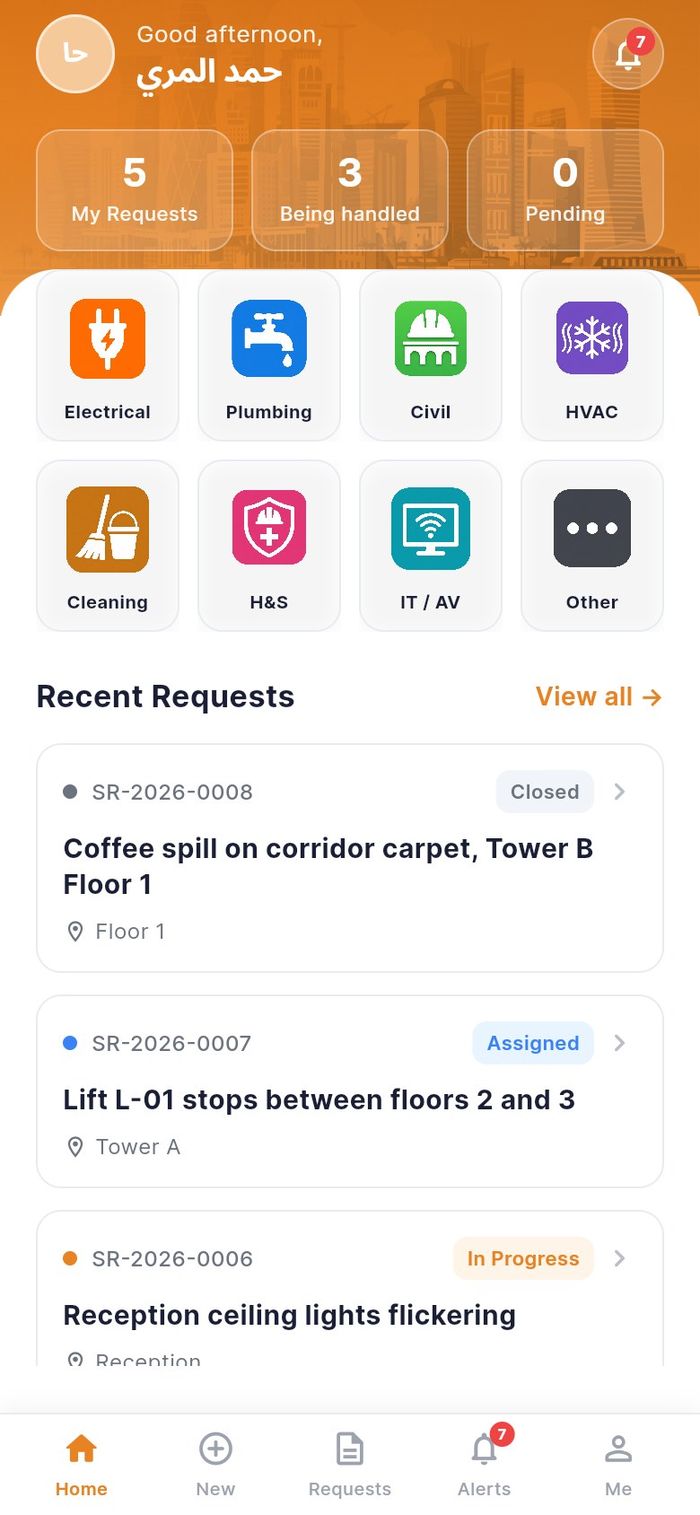
- Recent Requests: your latest three requests. View all → opens the Requests tab.
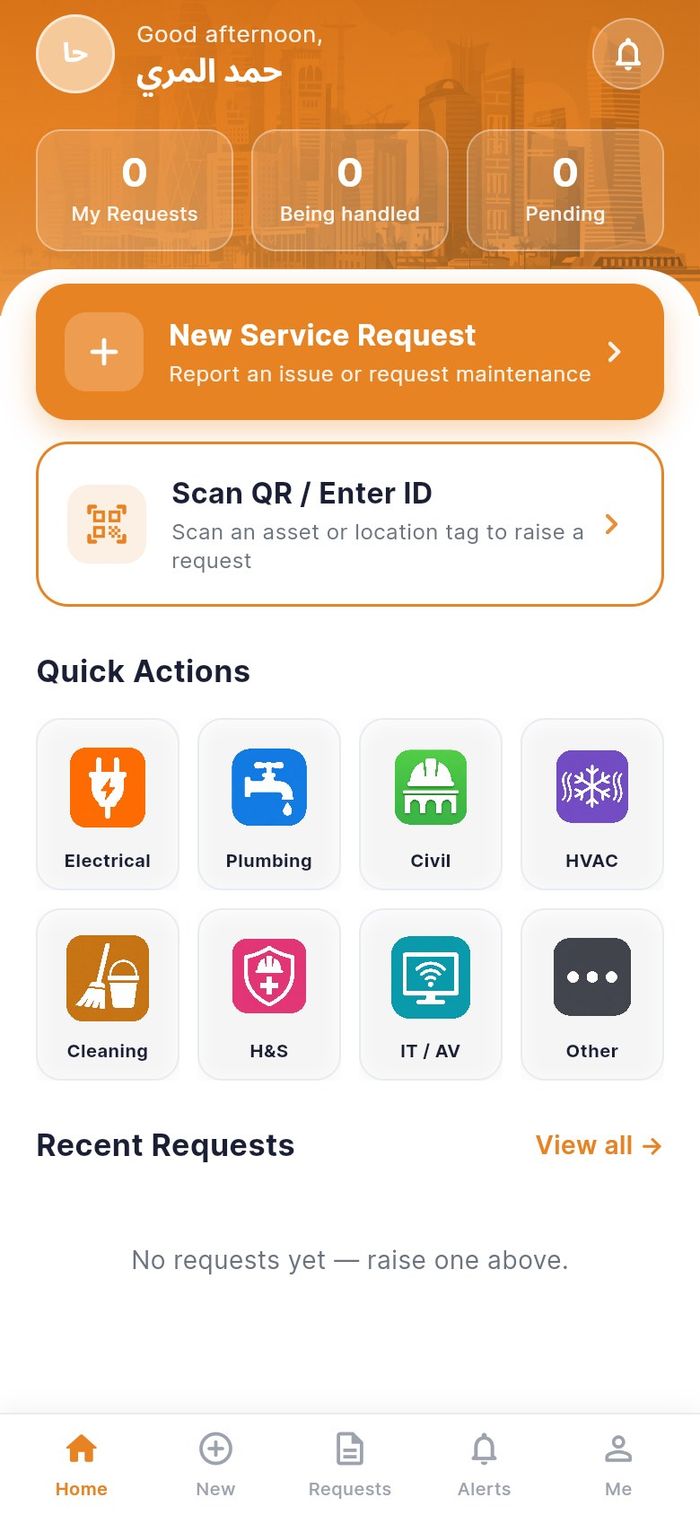
Before you raise anything, Home says No requests yet — raise one above.
Raising a request
You can start a request three ways: scan the label on the equipment or the door, pick the place from a list, or scan the sticker with your phone camera. All three end in the same four-step form.
Raise a request by scanning a label
- Who: any requestor
- Where: Home → Scan QR / Enter ID
Assets and rooms carry a QR sticker. Scanning it fills in the form for you.
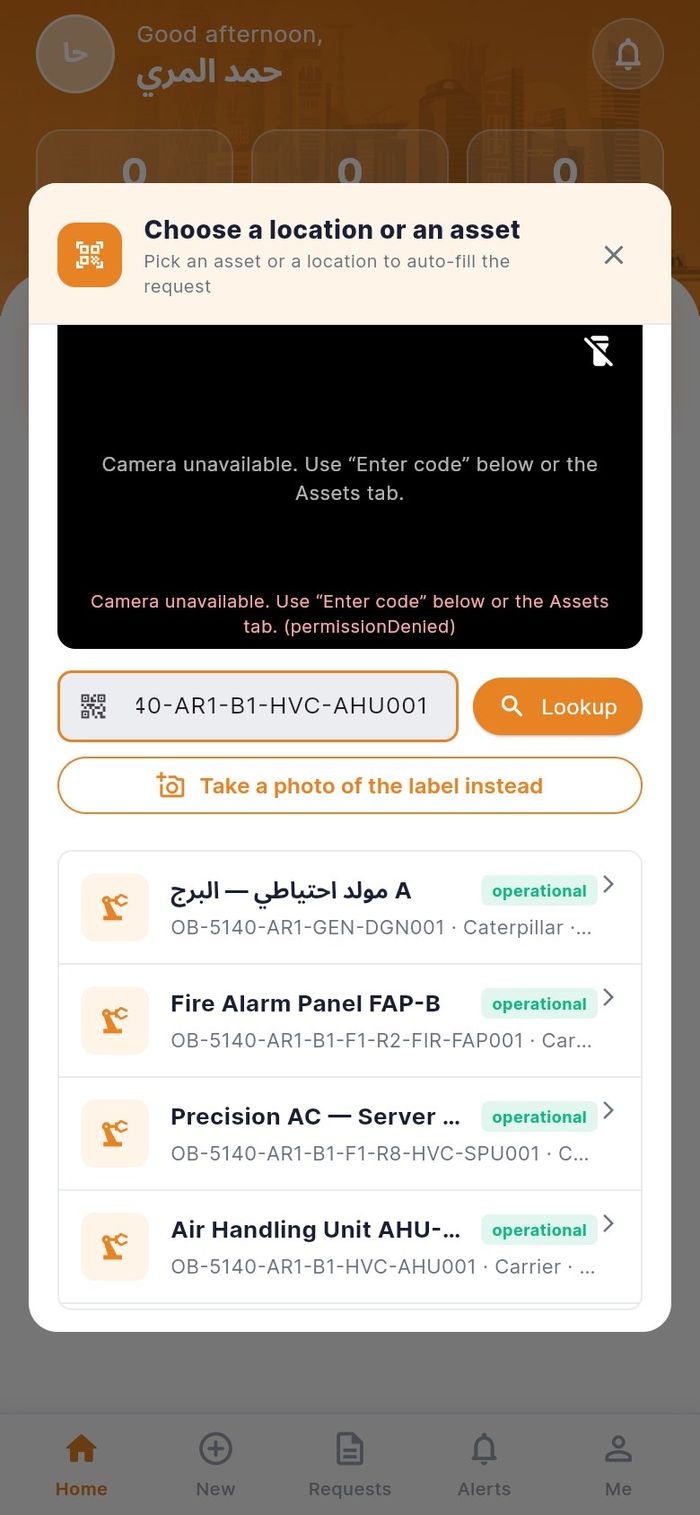
- On Home, tap Scan QR / Enter ID. The sheet Choose a location or an asset opens on Scan QR.
- Point the camera at the sticker. Tap the preview to focus; tap Torch in a dark room.
- If the camera cannot read the label, type the code printed under it in Enter code (e.g. AHU-F12-01) and tap Lookup.
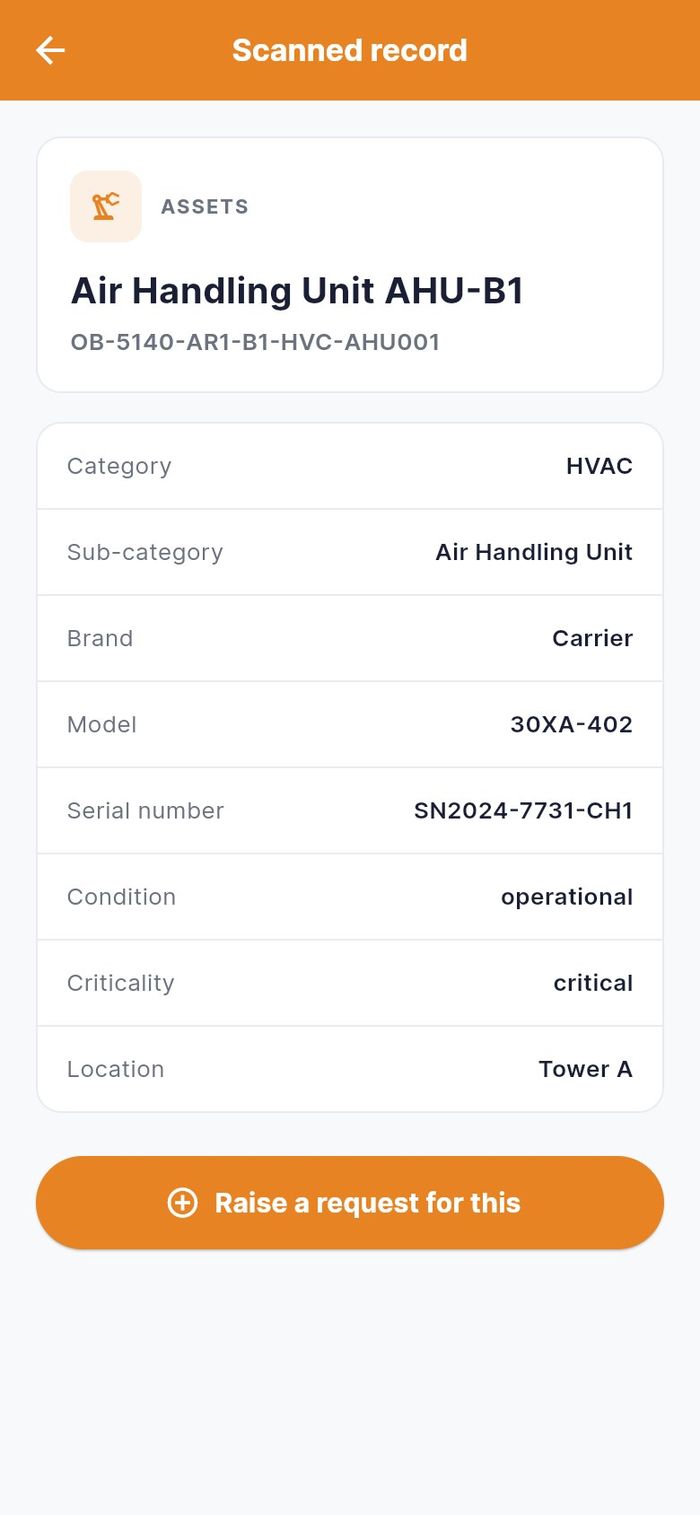
- The Scanned record screen shows what you scanned. For an asset: category, sub-category, brand, model, serial number, condition, criticality and location.
- Tap Raise a request for this. The request form opens with the asset already filled in.
Scan a sticker with the phone camera
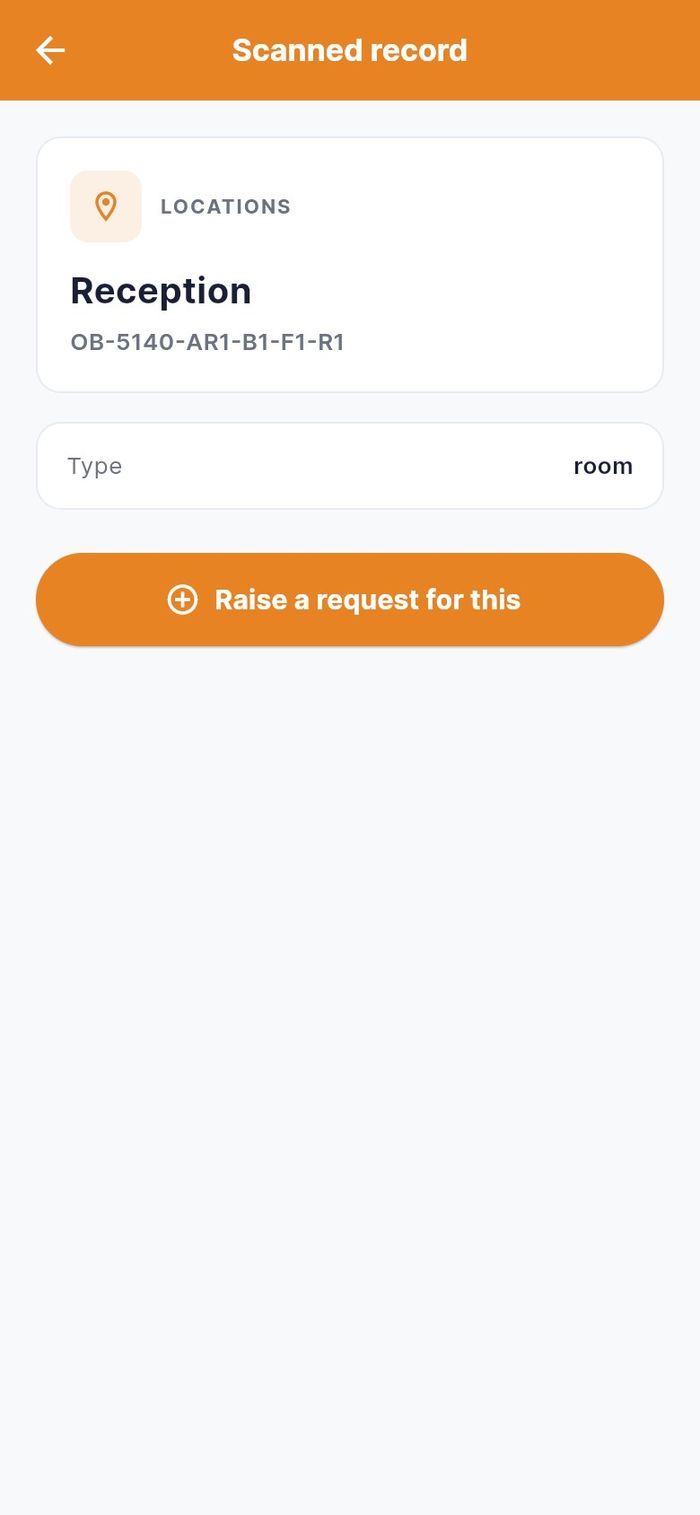
You do not have to open the app first. Point the phone's own camera at a CAFM Way sticker and tap the link it shows. The app (or requestor.cafm-way.com) opens on the Scanned record for that asset or room. If you are signed out, sign in first; the app then shows the record.
Fill in the request form
- Who: any requestor
- Where: New tab, New Service Request on Home, any Quick Actions tile, or Raise a request for this
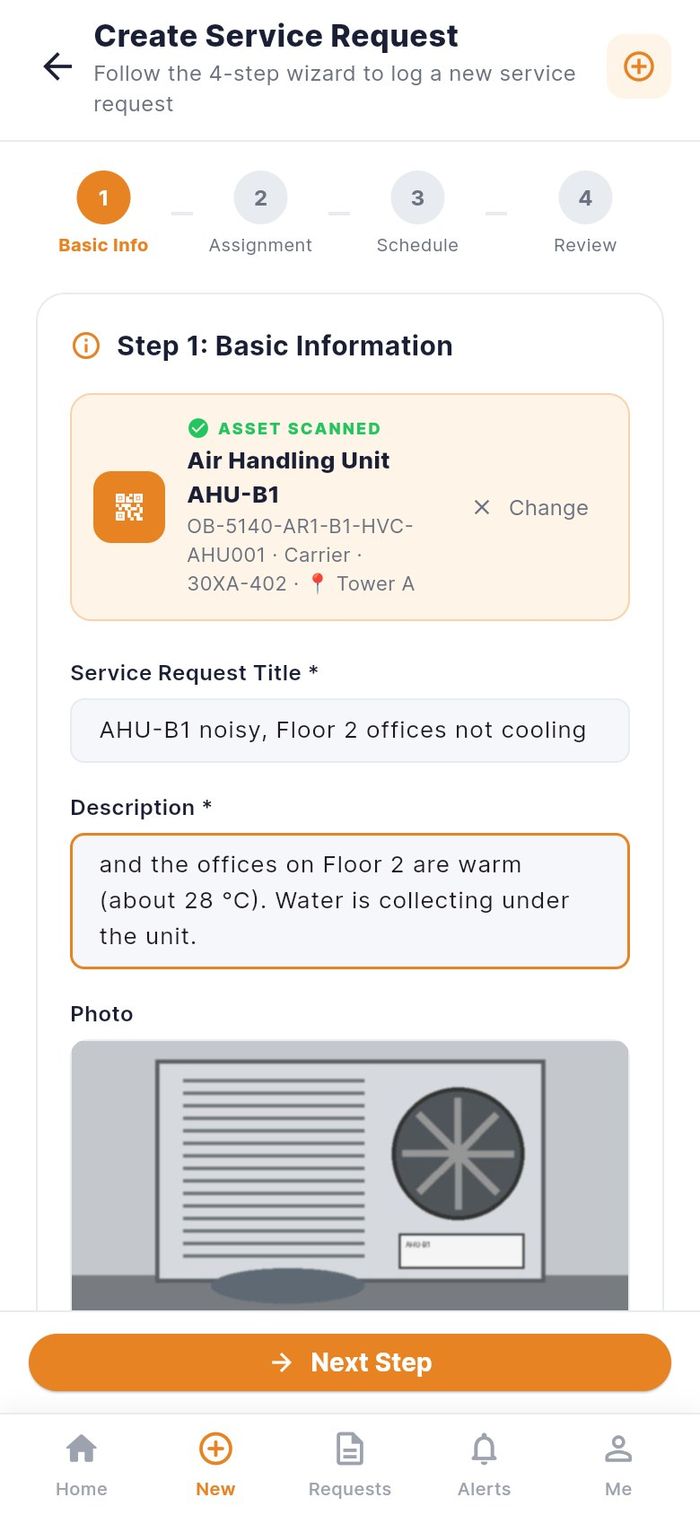
The form Create Service Request has four steps: Basic Info, Assignment, Schedule, Review. Tap Next Step to move on and Previous to go back. The back arrow at the top leaves the form and discards what you typed.
Step 1: Basic Information
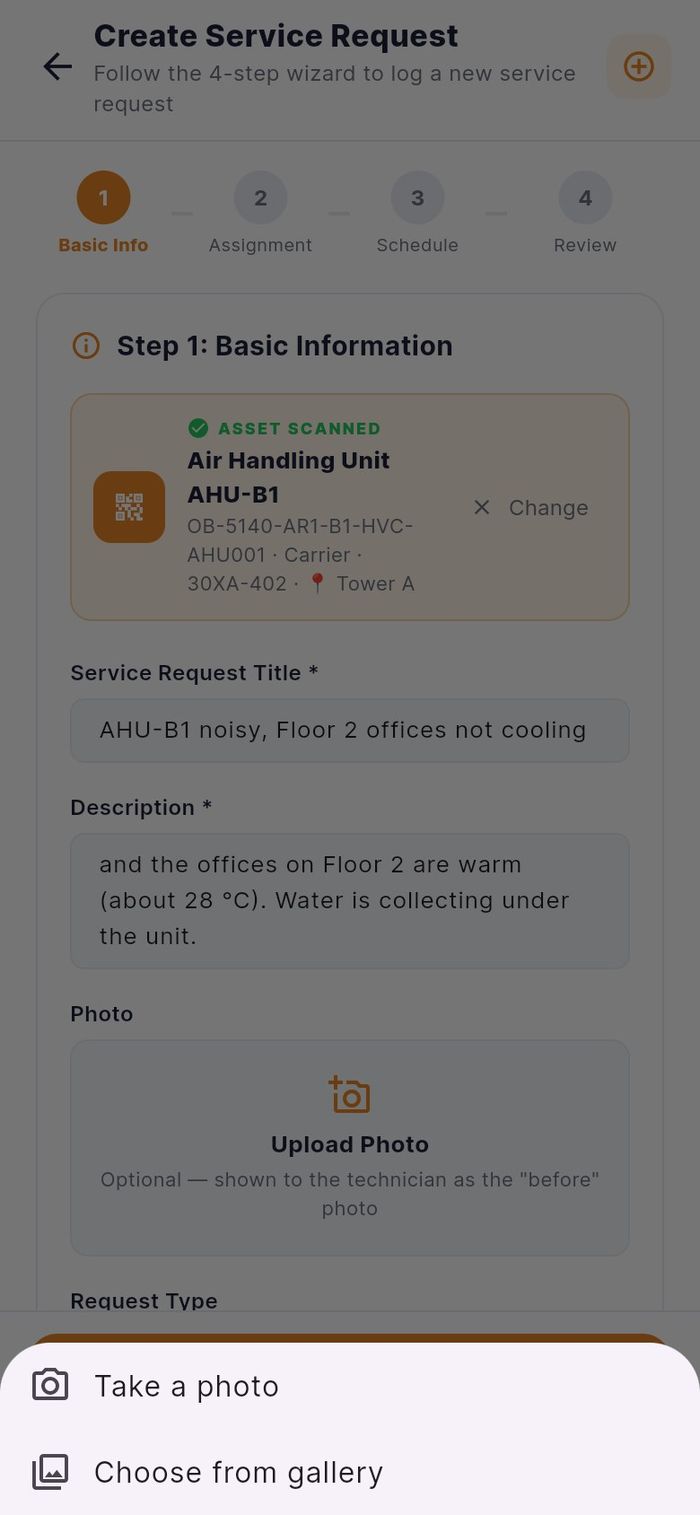
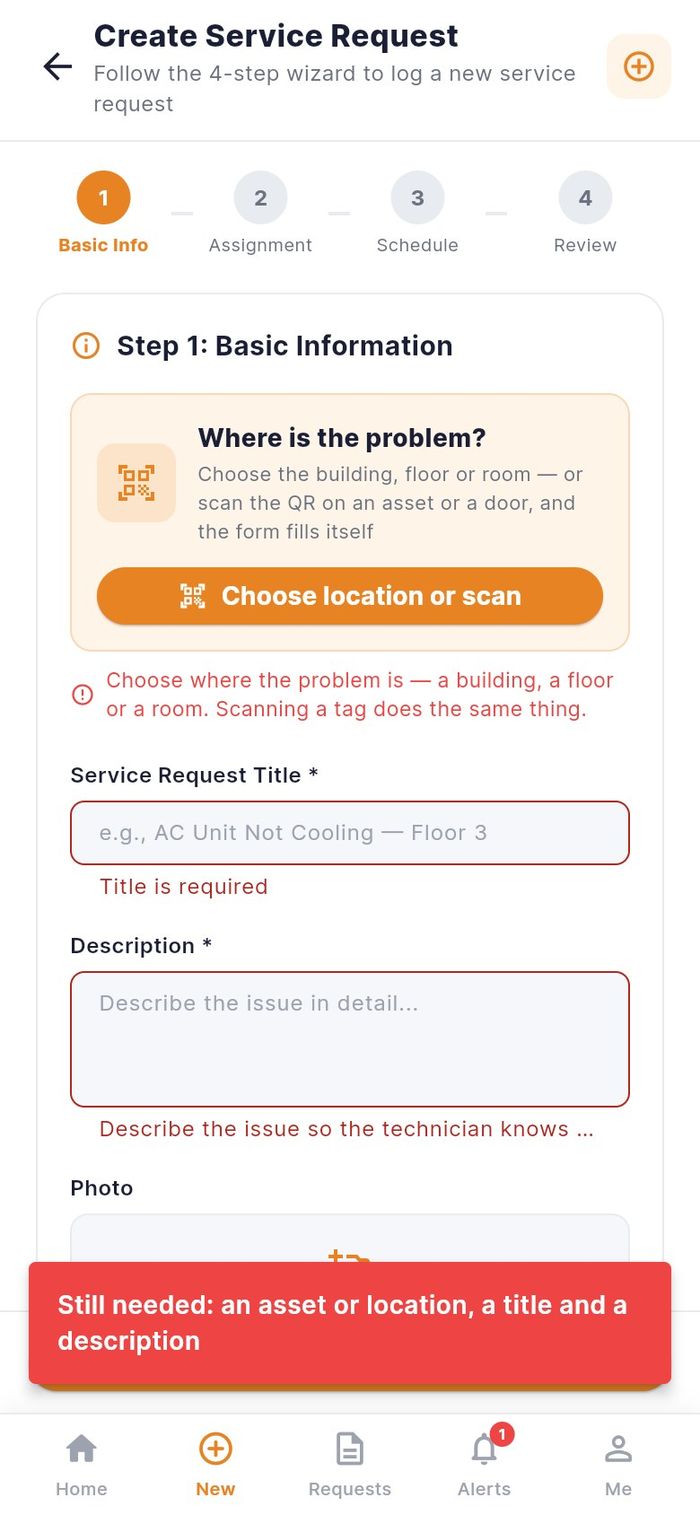
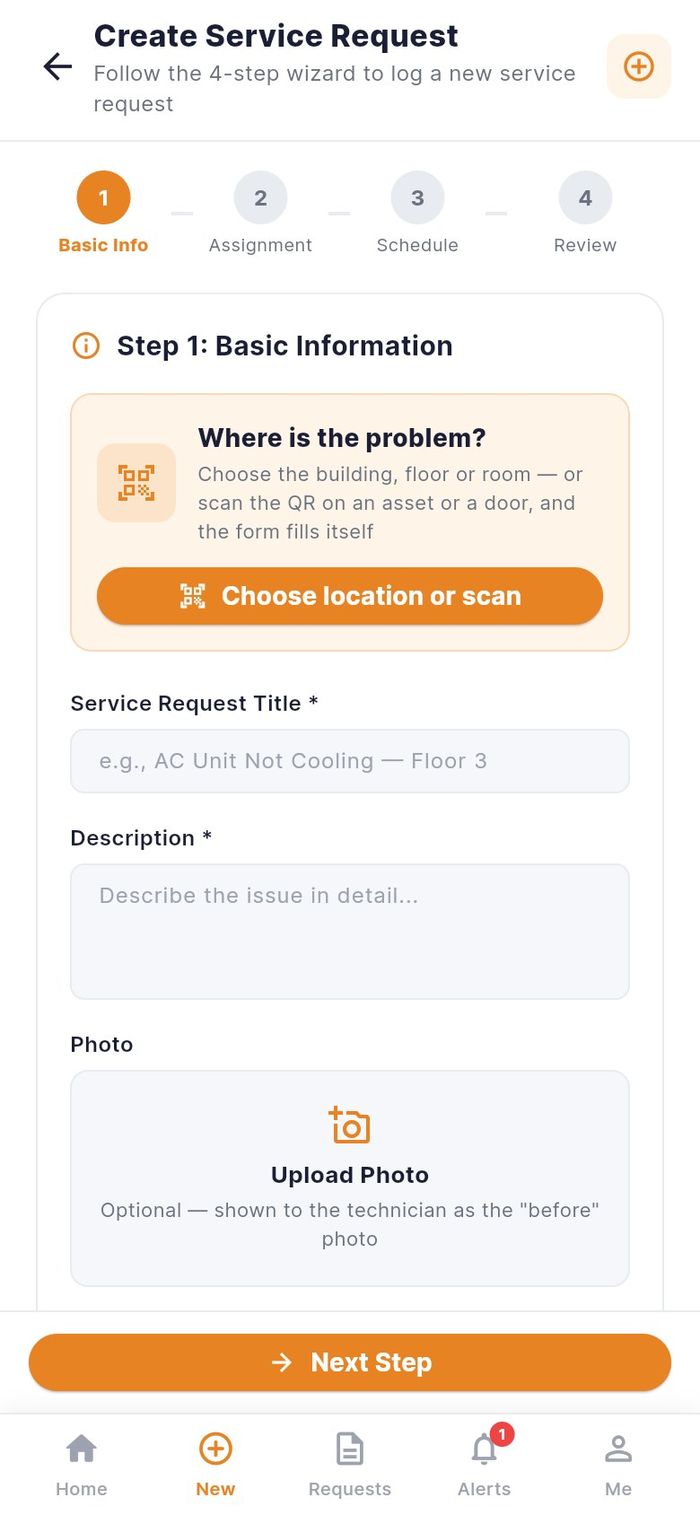
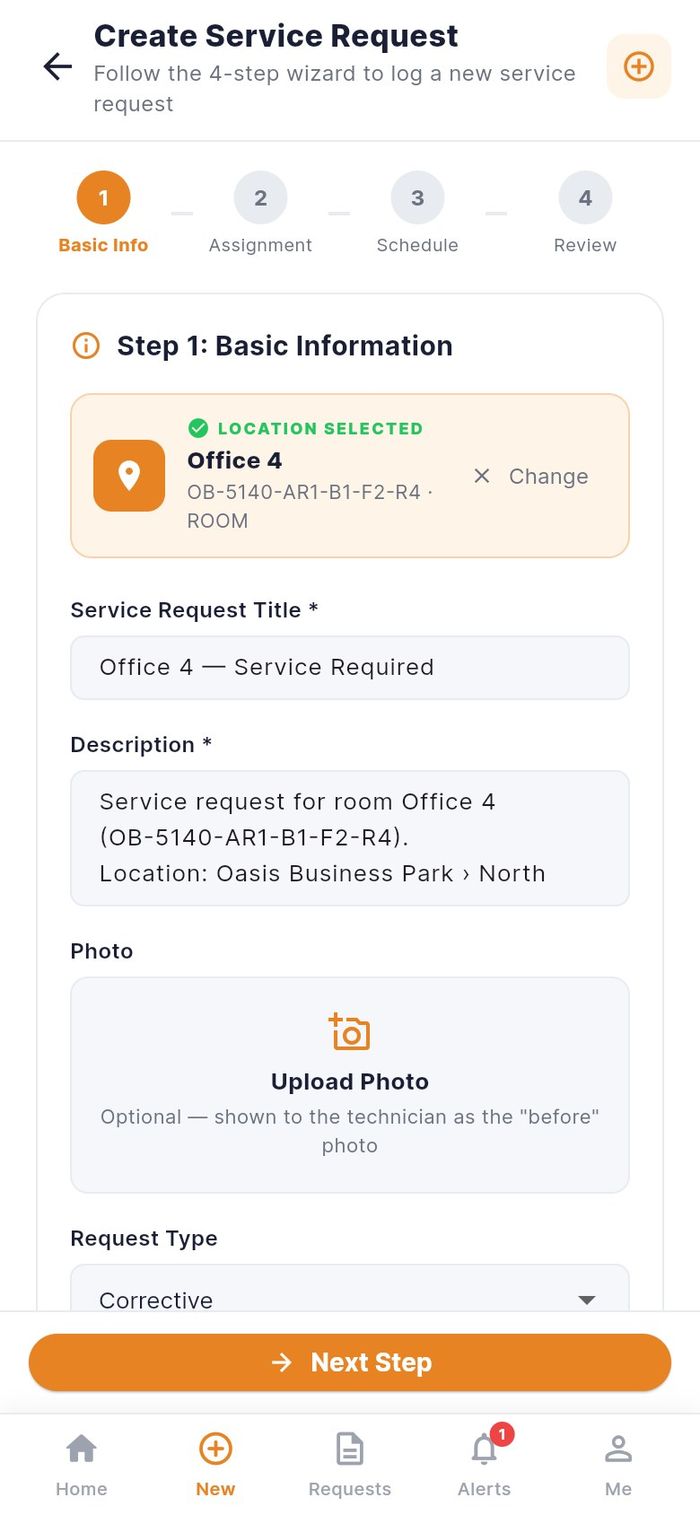
- Where is the problem? After a scan, a banner shows ASSET SCANNED (or LOCATION SELECTED) with Change to pick again. Without a scan, tap Choose location or scan (see the next workflow).
- Service Request Title *. A scan fills a suggested title such as "Air Handling Unit AHU-B1 — Issue Detected". Replace it with a short description of the fault.
- Description *. Say what is wrong, since when, and anything the technician should bring.
- Photo (optional). Tap Upload Photo, then Take a photo or Choose from gallery. The photo is shown to the technician as the "before" picture. Replace or Remove changes it.
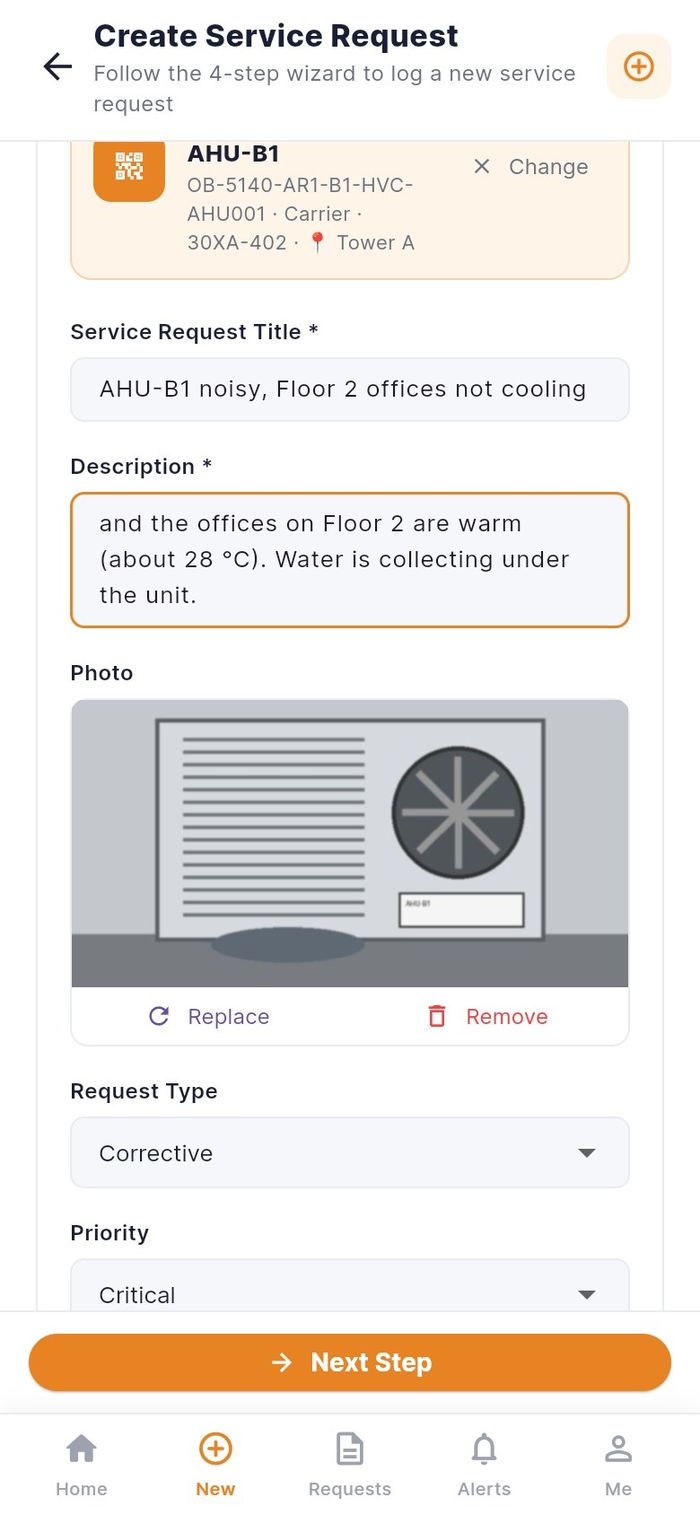
- Request Type: Corrective (something is broken, the default), Preventive or Inspection.
- Priority: Low, Medium, High or Critical.
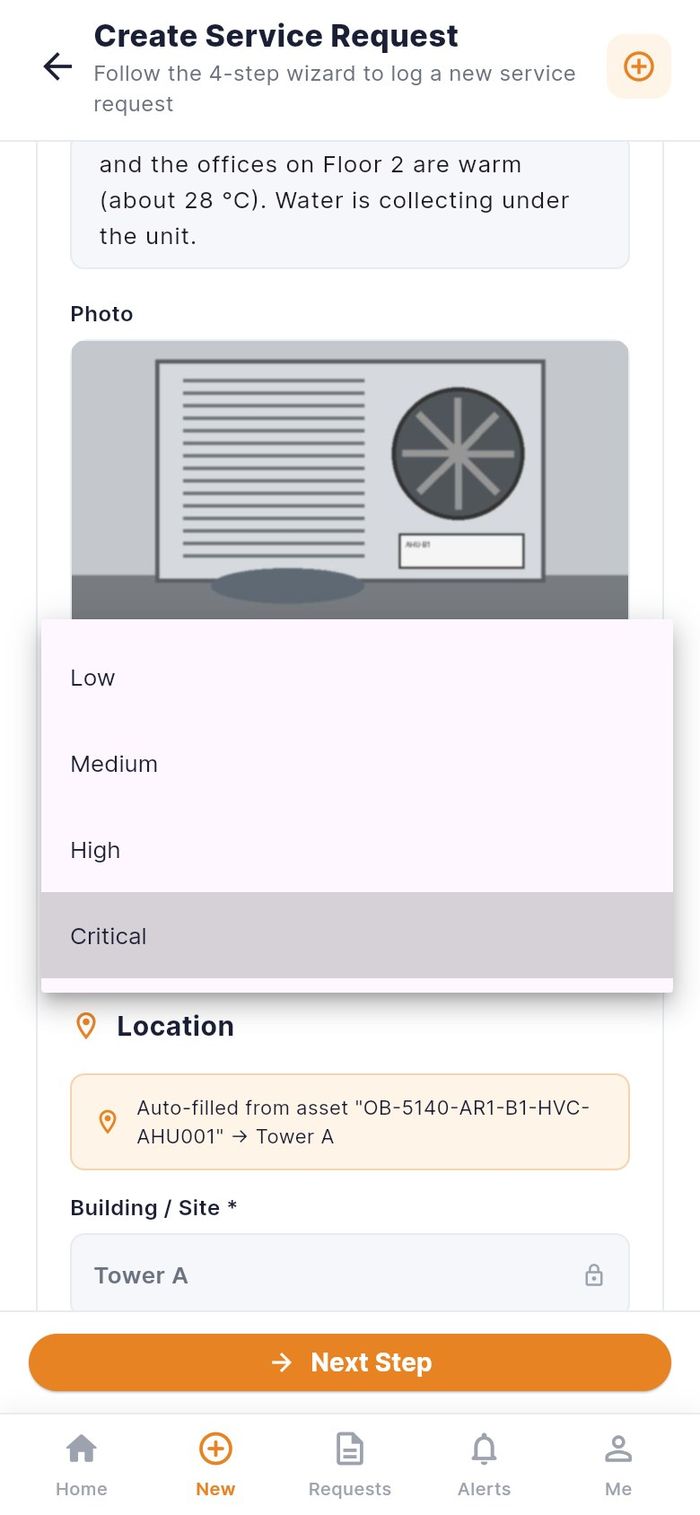
- The Location section at the bottom is filled from your pick and cannot be typed in: Building / Site *, Floor, Space / Room and GPS / QR Tag (the asset code).
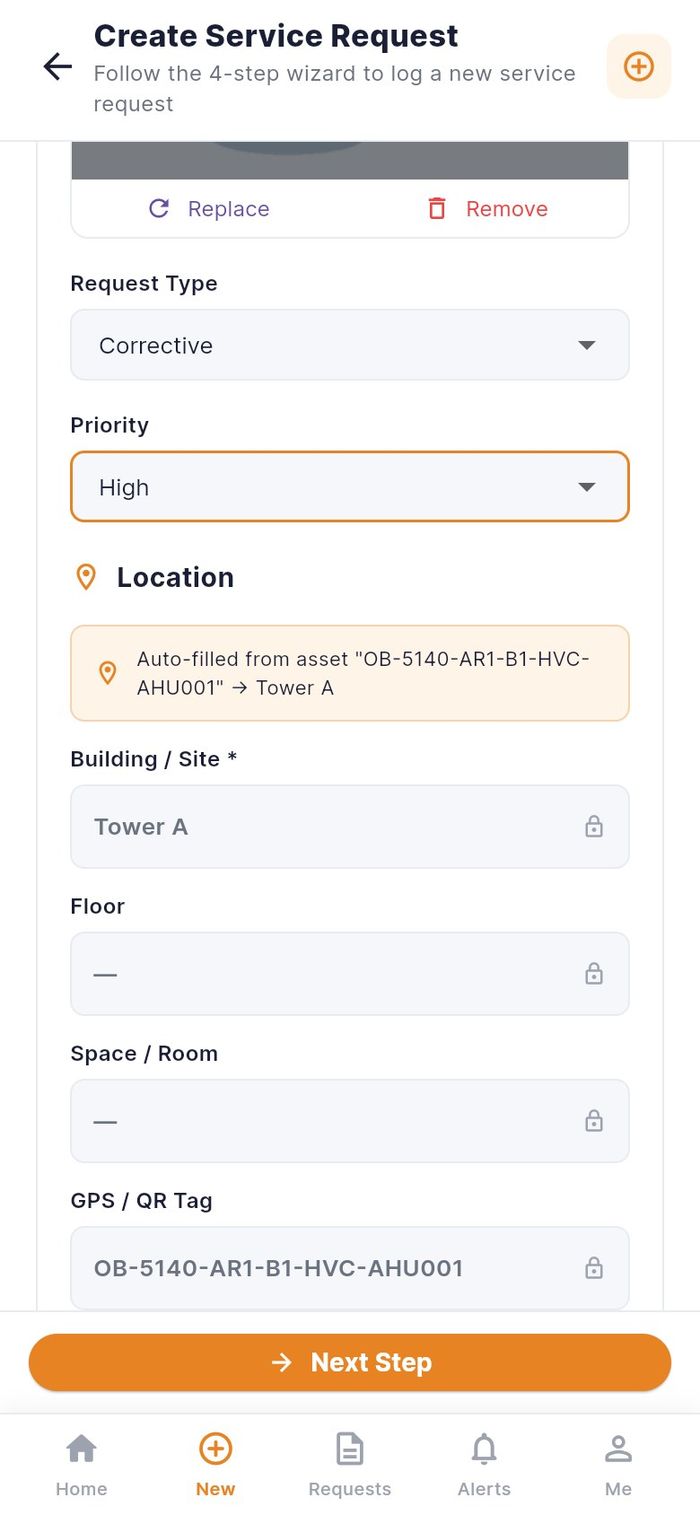
If something is missing when you tap Next Step, the fields turn red and a message lists what is Still needed.
Step 2: Assignment
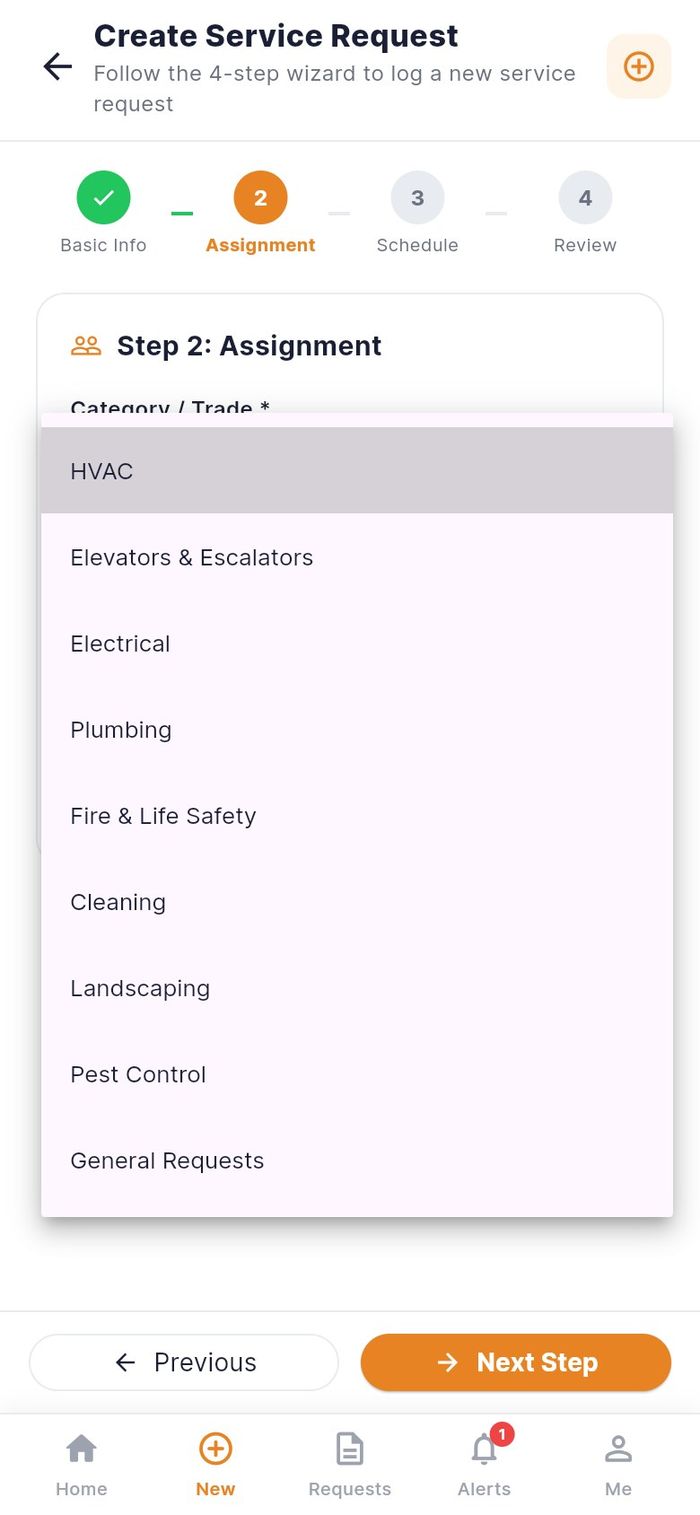
- Category / Trade *: pick the kind of work. After an asset scan it is already chosen.
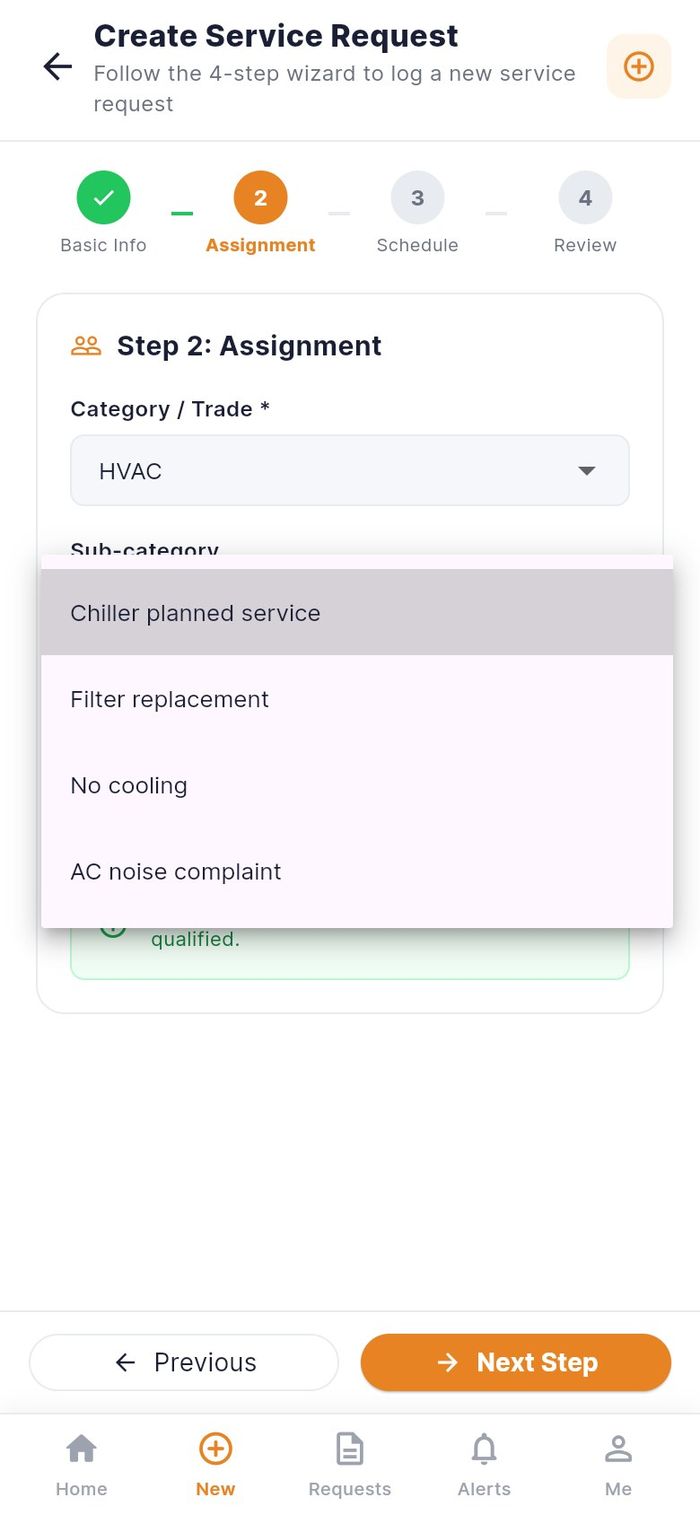
- Sub-category: pick the closest match. The first one is selected for you, so check it.
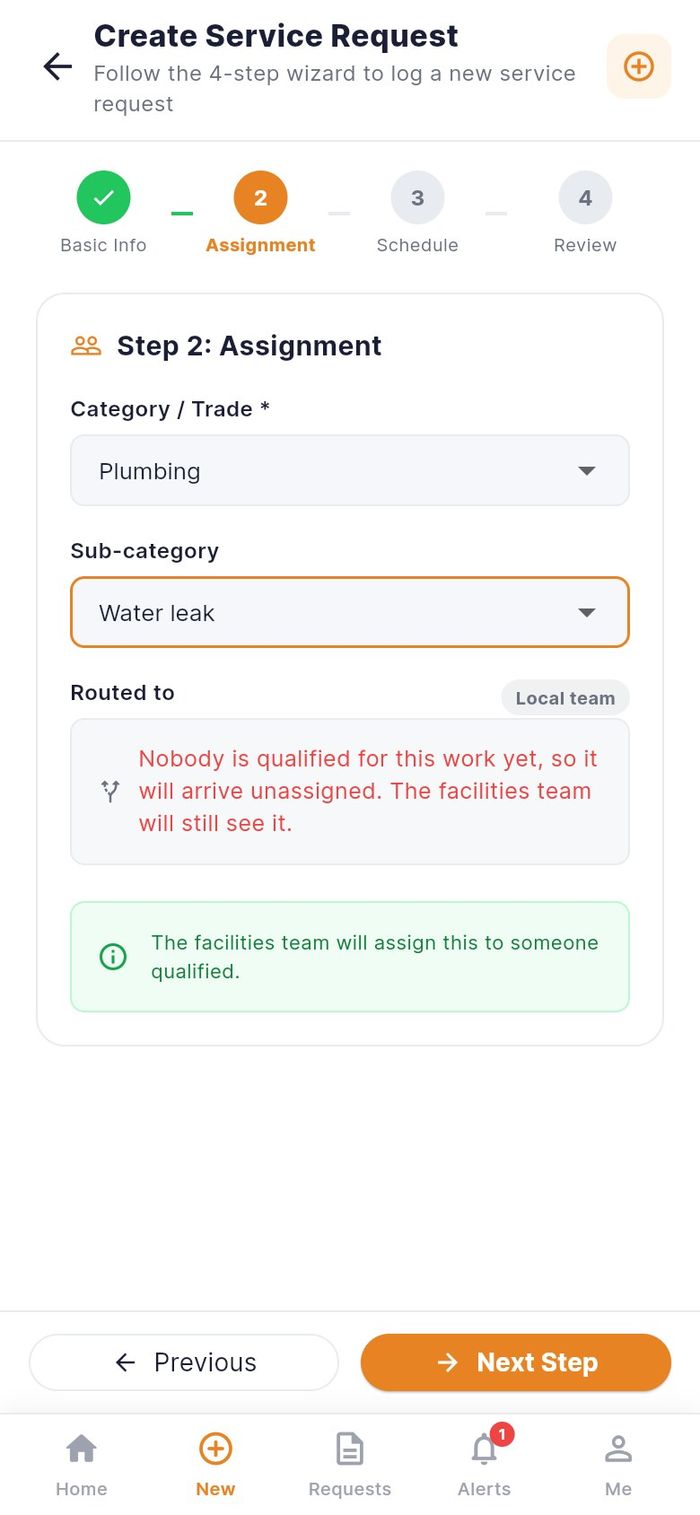
- Routed to tells you who will receive the job. You cannot pick a person; the facilities team assigns it.
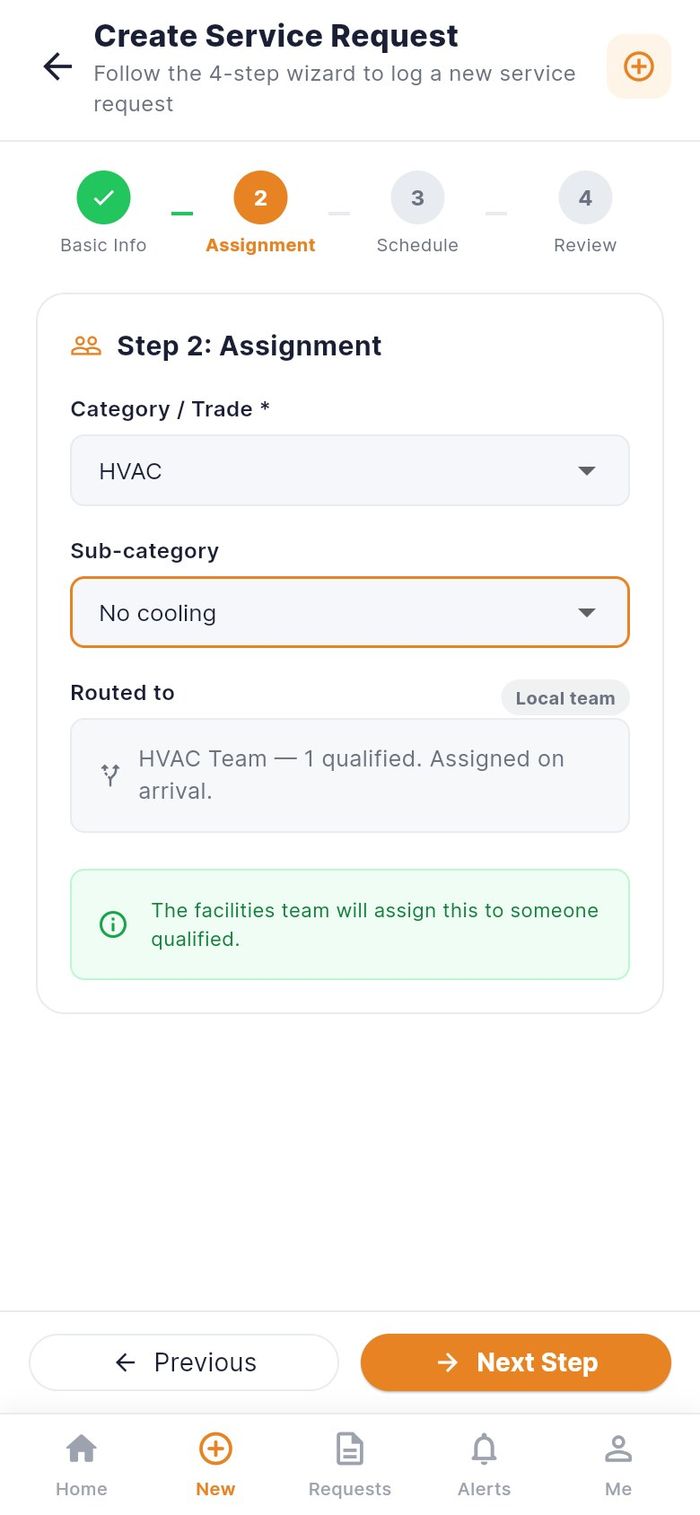
| Routed to message | Meaning |
|---|---|
| Team — n qualified. Assigned on arrival. | The job goes straight to a qualified technician |
| Nobody is qualified for this work yet, so it will arrive unassigned. The facilities team will still see it. | The team assigns it by hand |
| The facilities team assigns this once it arrives. | Assignment is manual for this category |
Step 3: Schedule & SLA
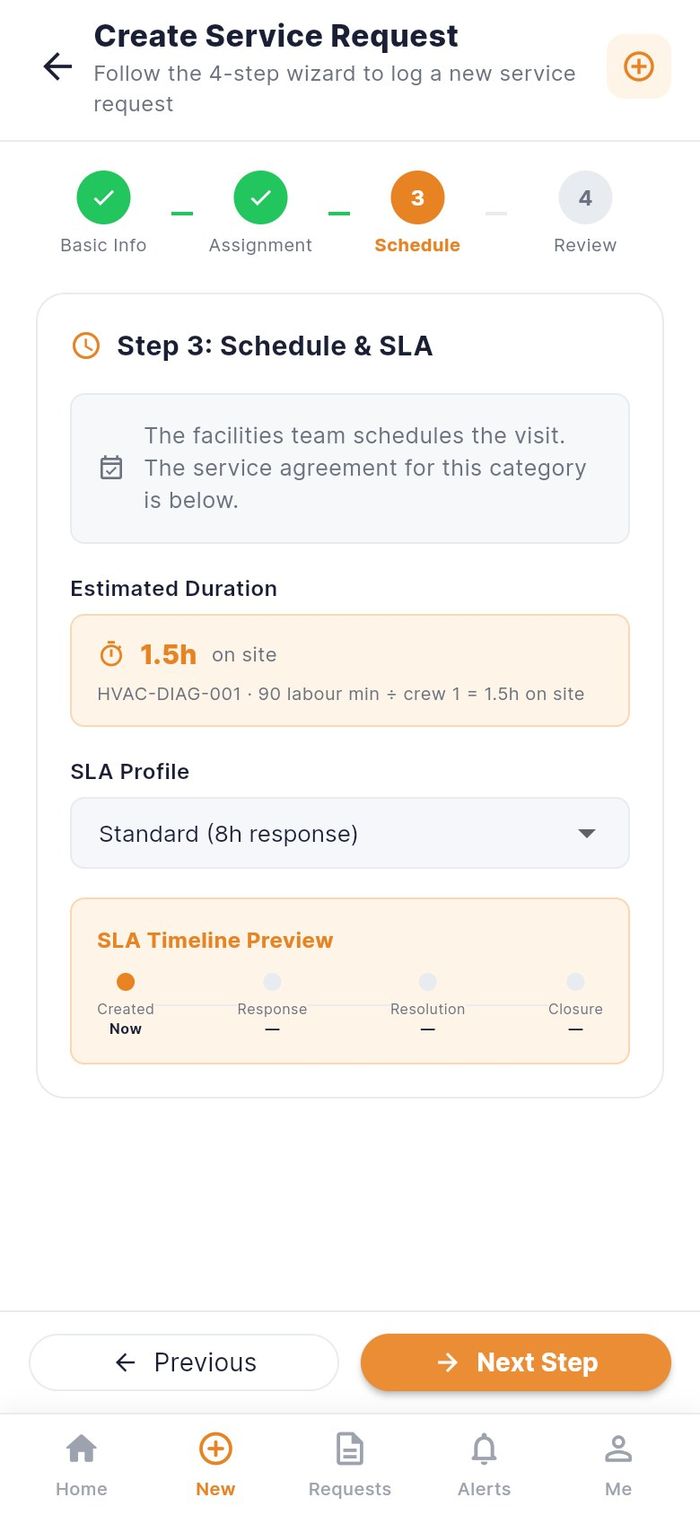
This step is for information only. You do not choose a visit time; the facilities team schedules it. You see the Estimated Duration of the standard job, the SLA Profile and the SLA Timeline Preview (Created, Response, Resolution, Closure).
Step 4: Review & Confirm
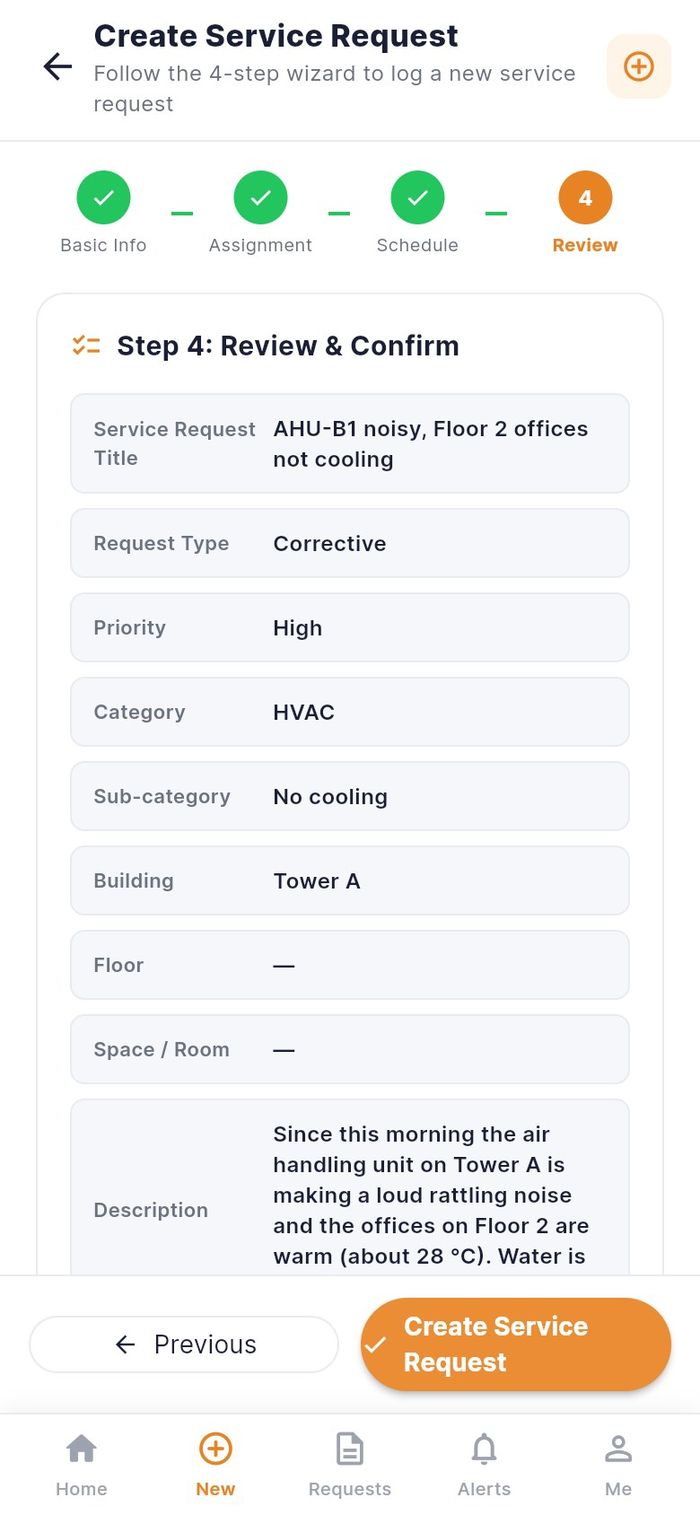
- Check the summary: title, type, priority, category, sub-category, building, floor, room and description.
- Tap Create Service Request.
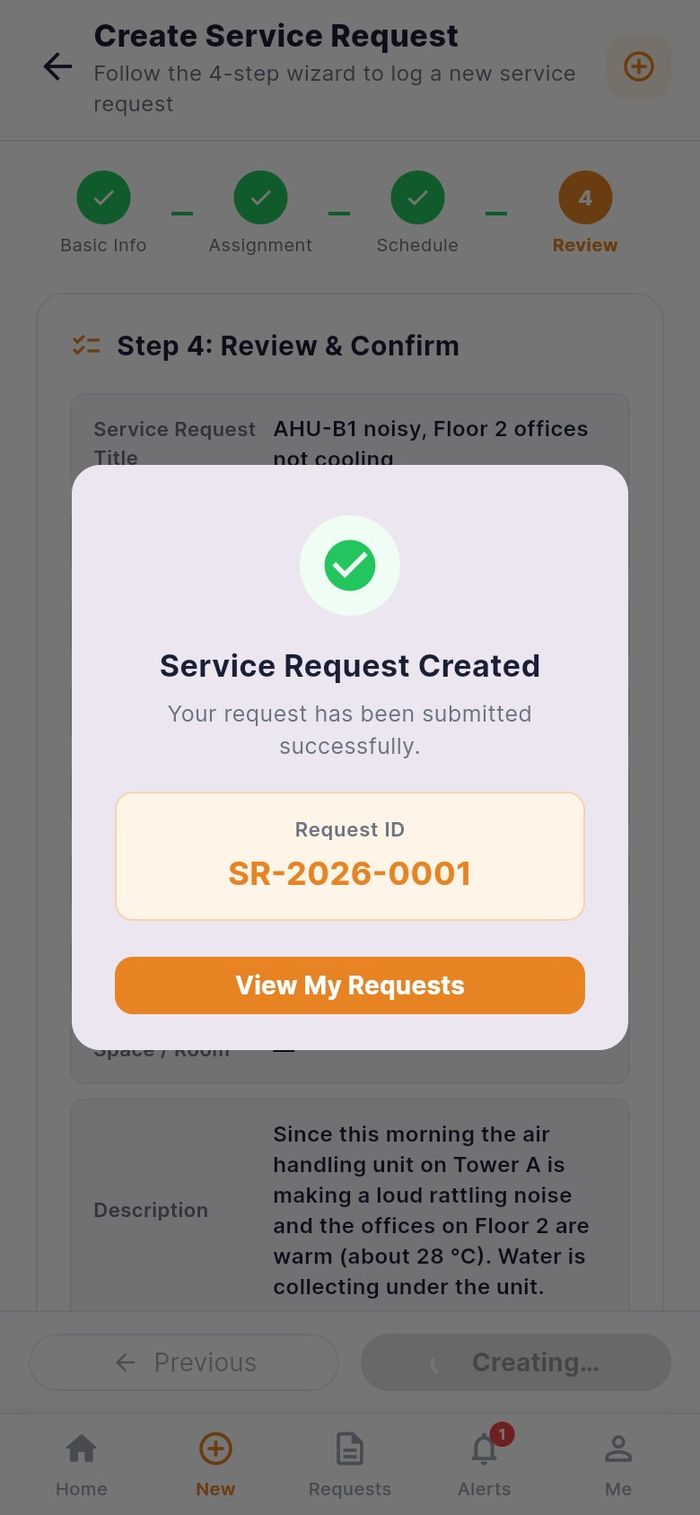
- The dialog Service Request Created shows your Request ID (for example SR-2026-0001). Keep it if you need to call the helpdesk.
- Tap View My Requests to see the new card in your list.
The request starts as Assigned. You get an alert when it is assigned and whenever it moves.
Choose the place yourself
- Who: any requestor
- Where: request form, step 1 → Choose location or scan
Use this when there is no sticker to scan, for example for a leak in a ceiling.
- Open the form (New tab). It starts empty.
- Tap Choose location or scan.
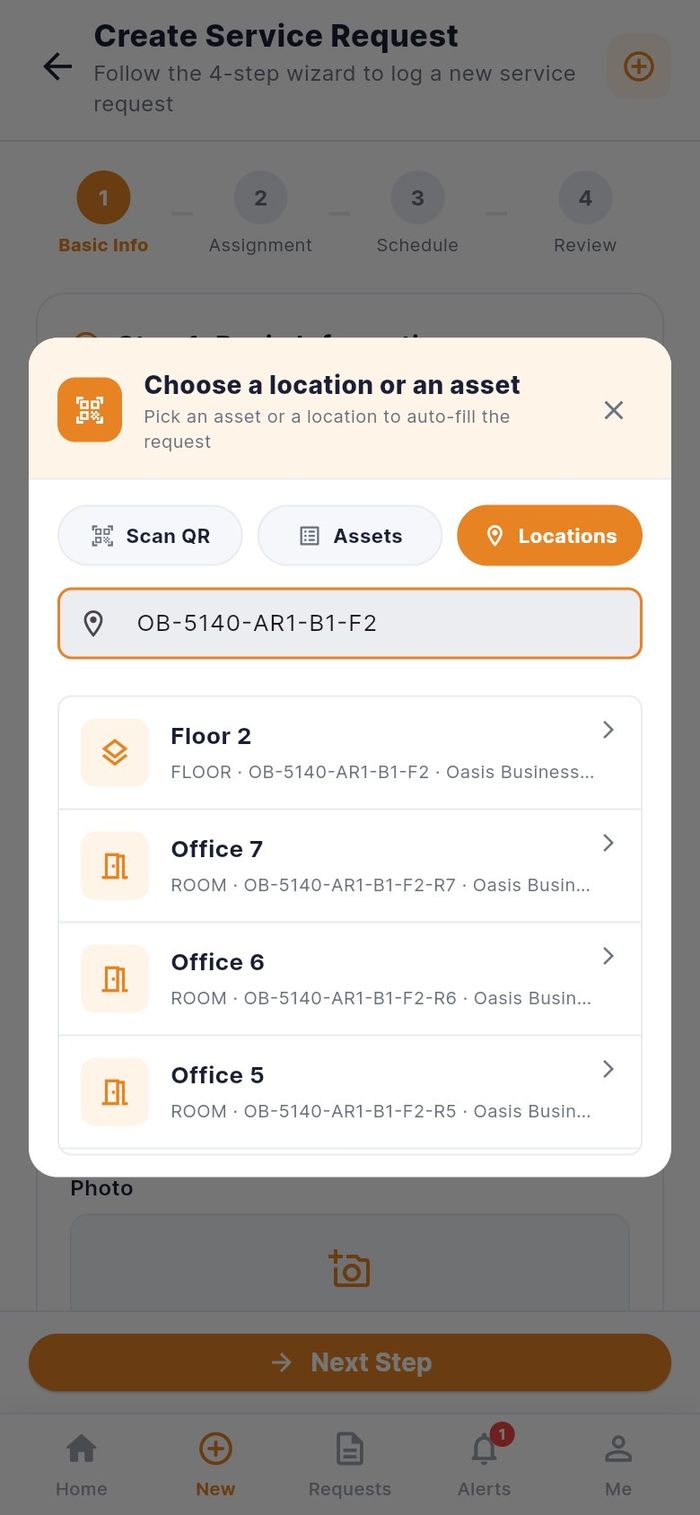
- Open Locations and type part of the name or the code in the search field, for example
OB-5140-AR1-B1-F2for Tower A, Floor 2. - Tap the building, floor or room. The banner shows LOCATION SELECTED and the title and description get a starting text.
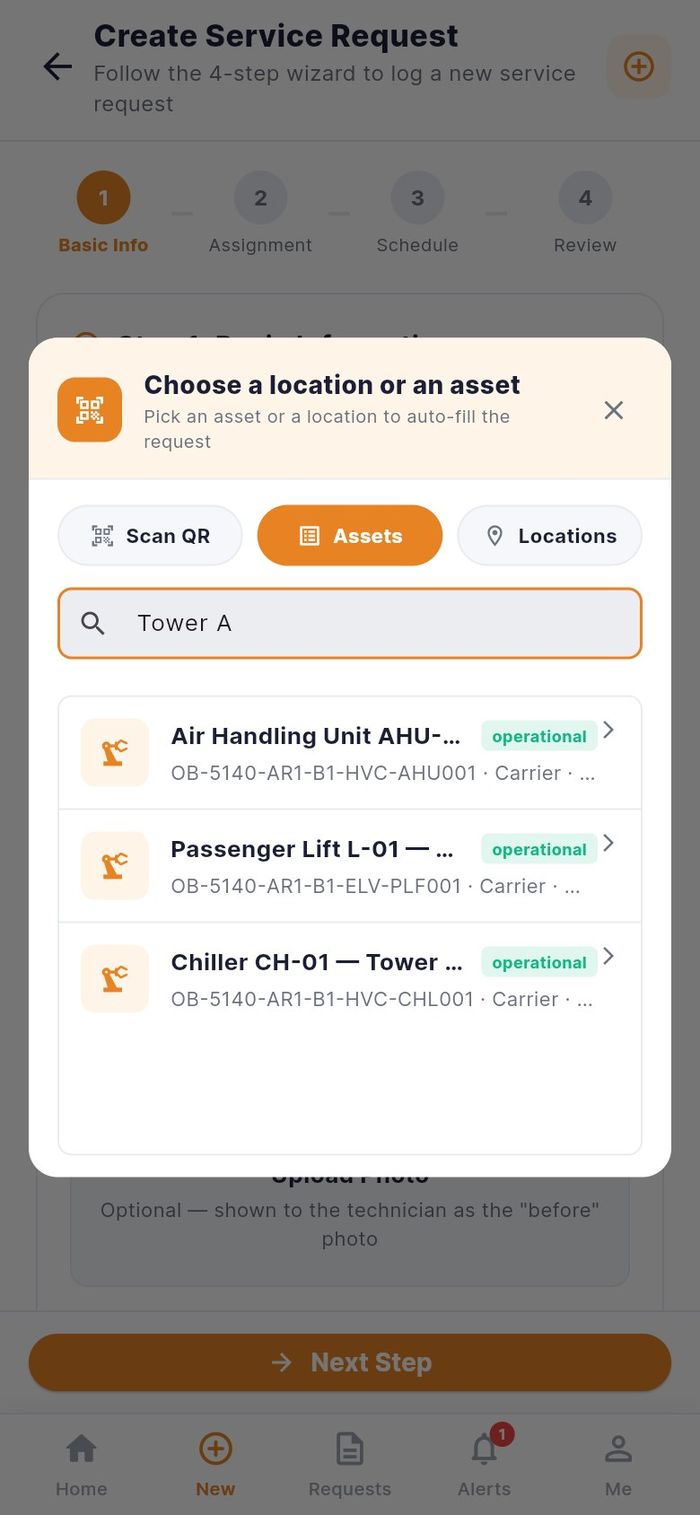
To report a fault on a machine without its sticker, open Assets instead and search by code, name, brand or serial number.
Then finish steps 1 to 4 as above.
Following your request
After you submit, everything about the request lives on its card: status, the team, the SLA clock, photos, the timeline, chat, quotations and your rating.
Track your requests
- Who: any requestor
- Where: Requests tab
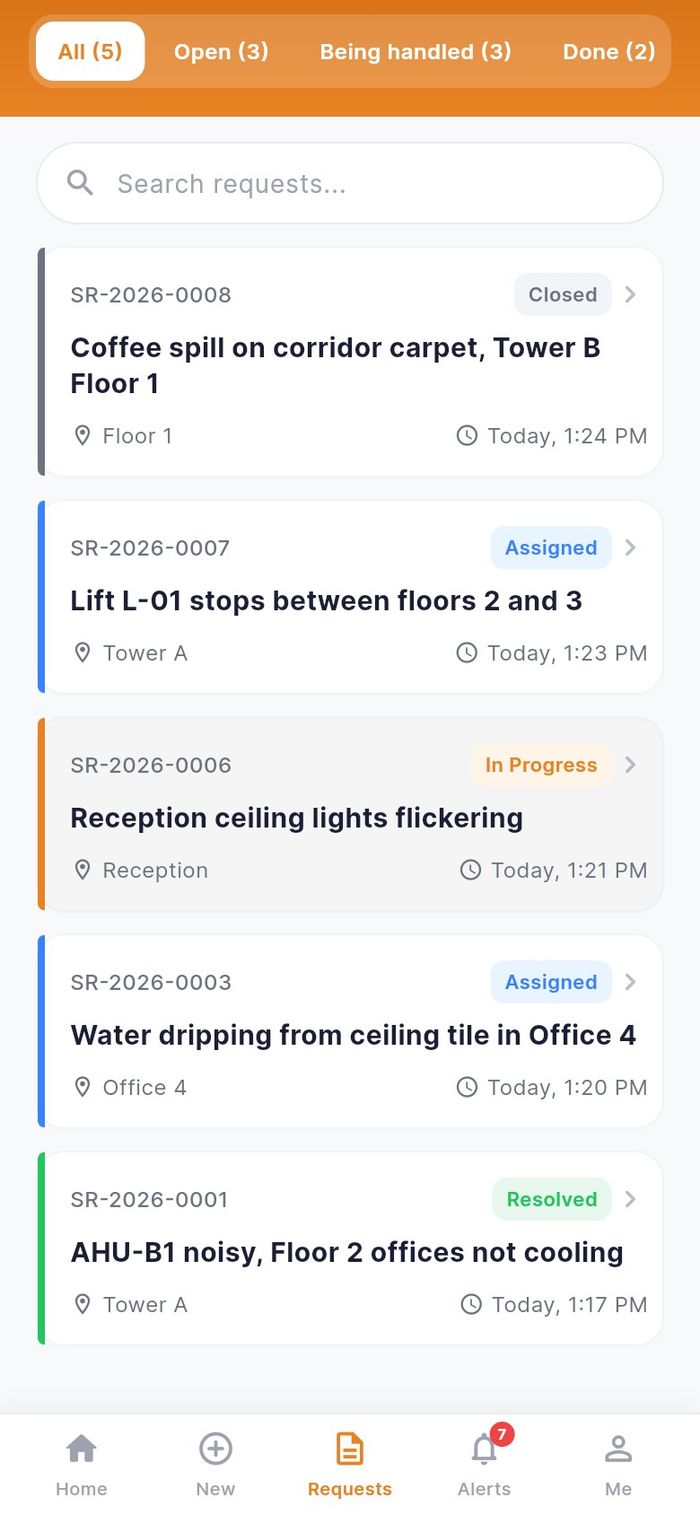
The list shows only your own requests, newest first. Each card has the request number, status, title, place and time.
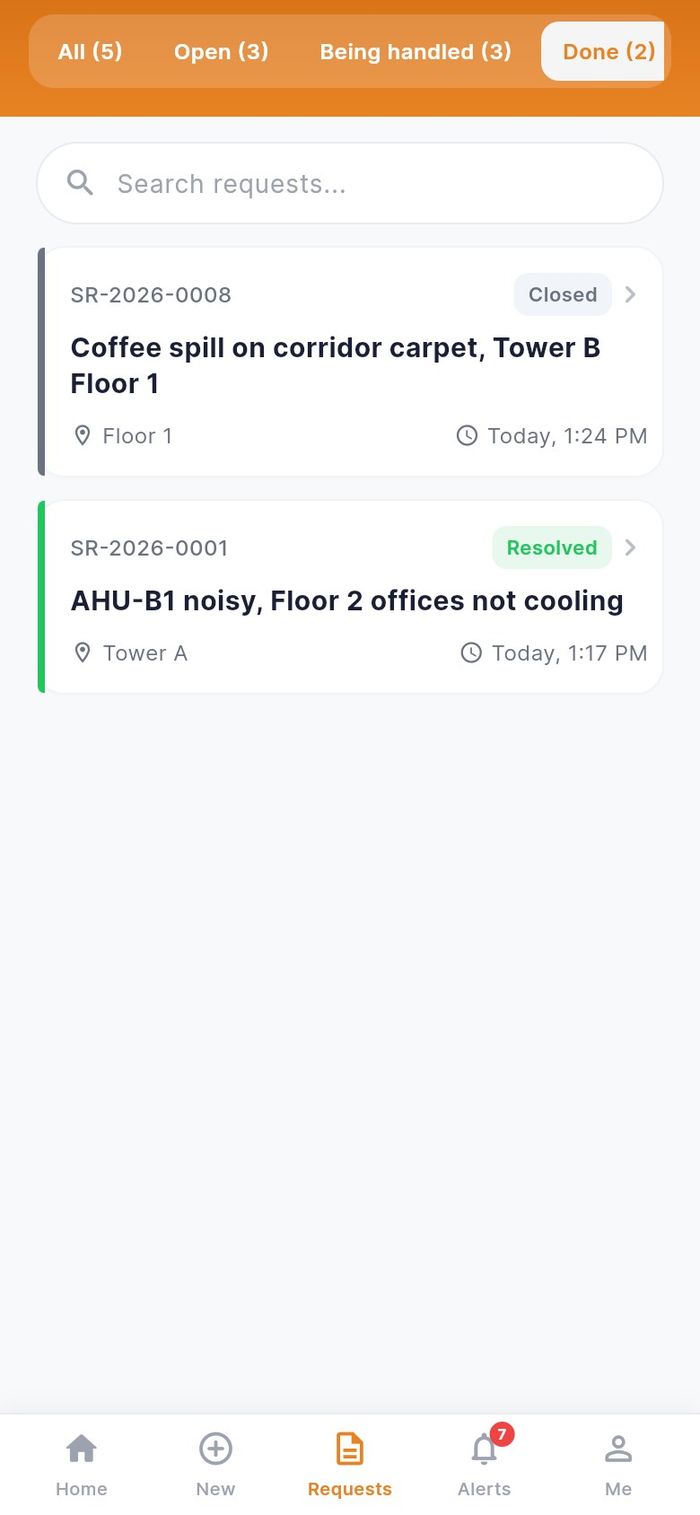
- Use the filters at the top: All, Open, Being handled and Done. Each shows how many requests it holds.
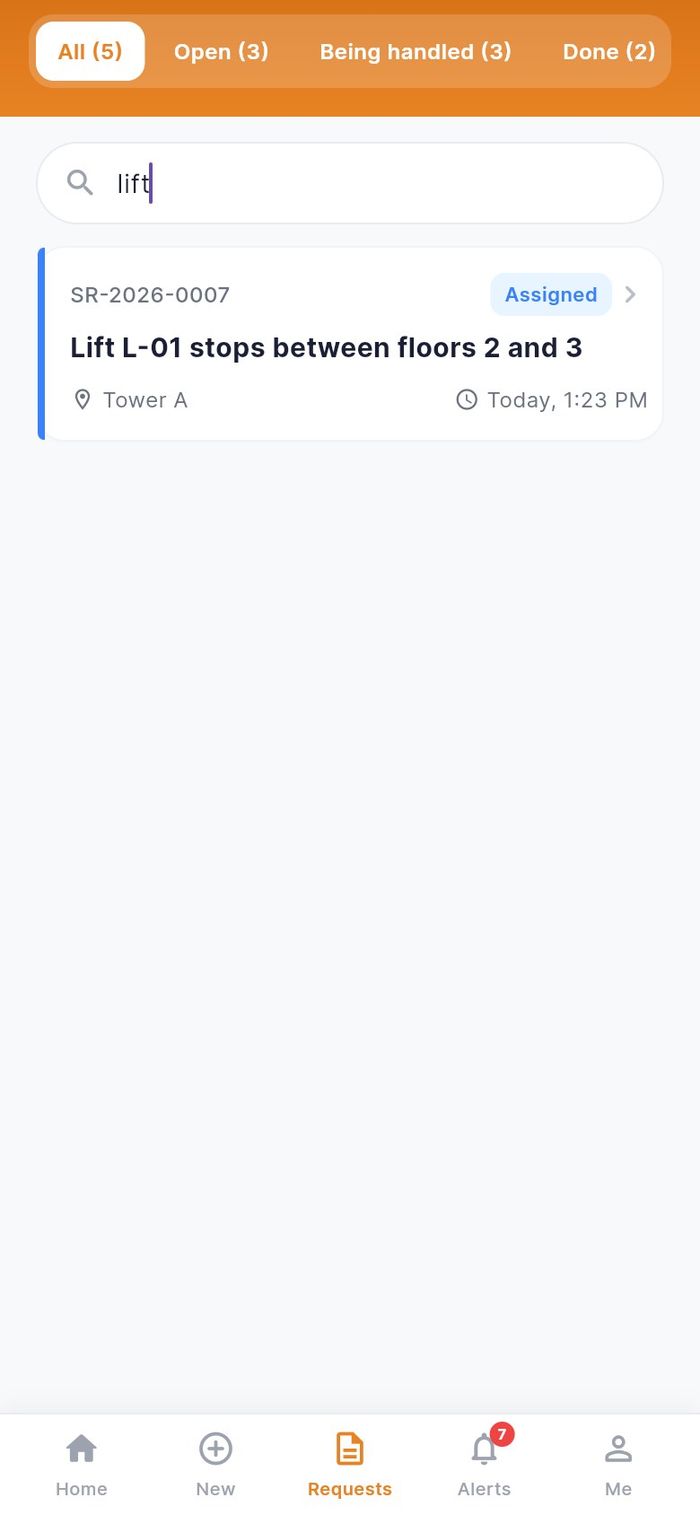
- Type in Search requests... to find a request by its SR number, work order number, title or place.
- Pull the list down to refresh it. Status changes also arrive by themselves while the app is open.
- Tap a card to open the request.
Read a request
- Who: any requestor
- Where: Requests (or Home) → tap a card
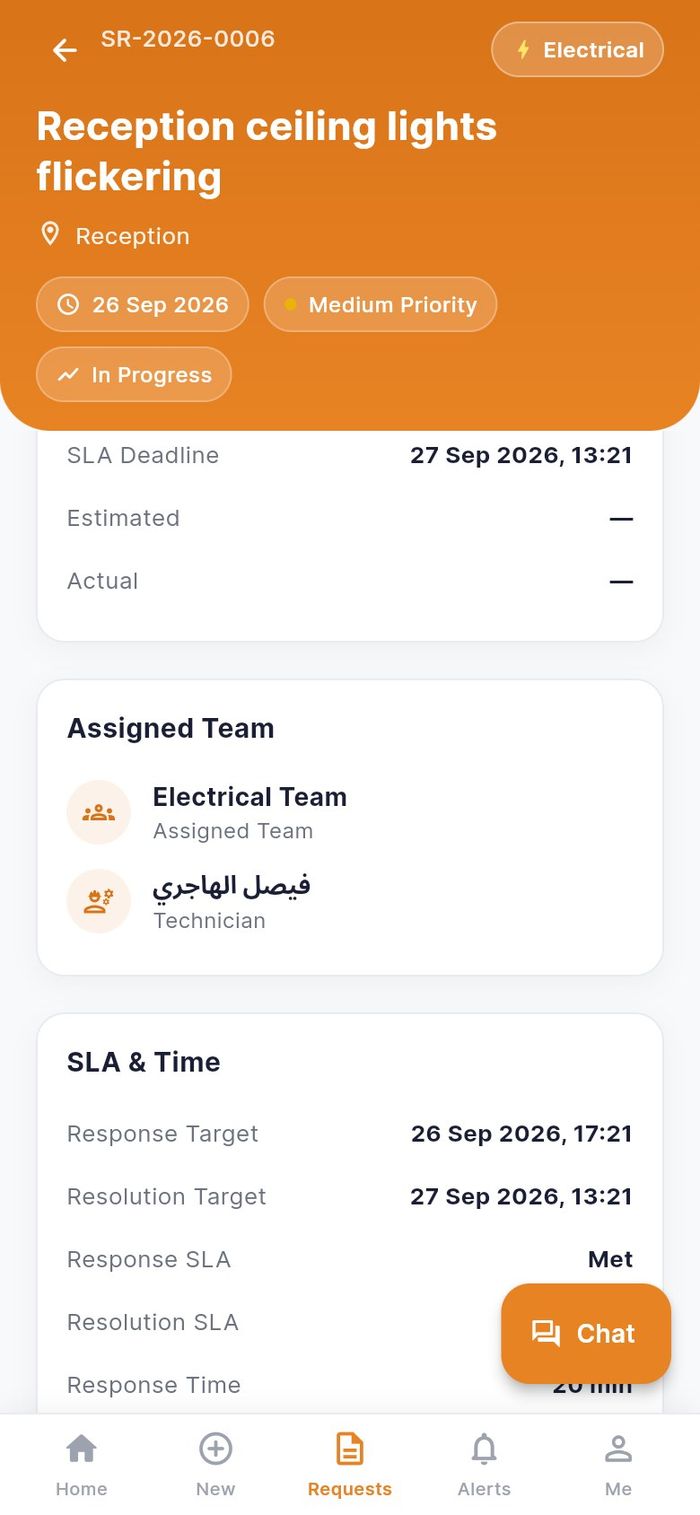
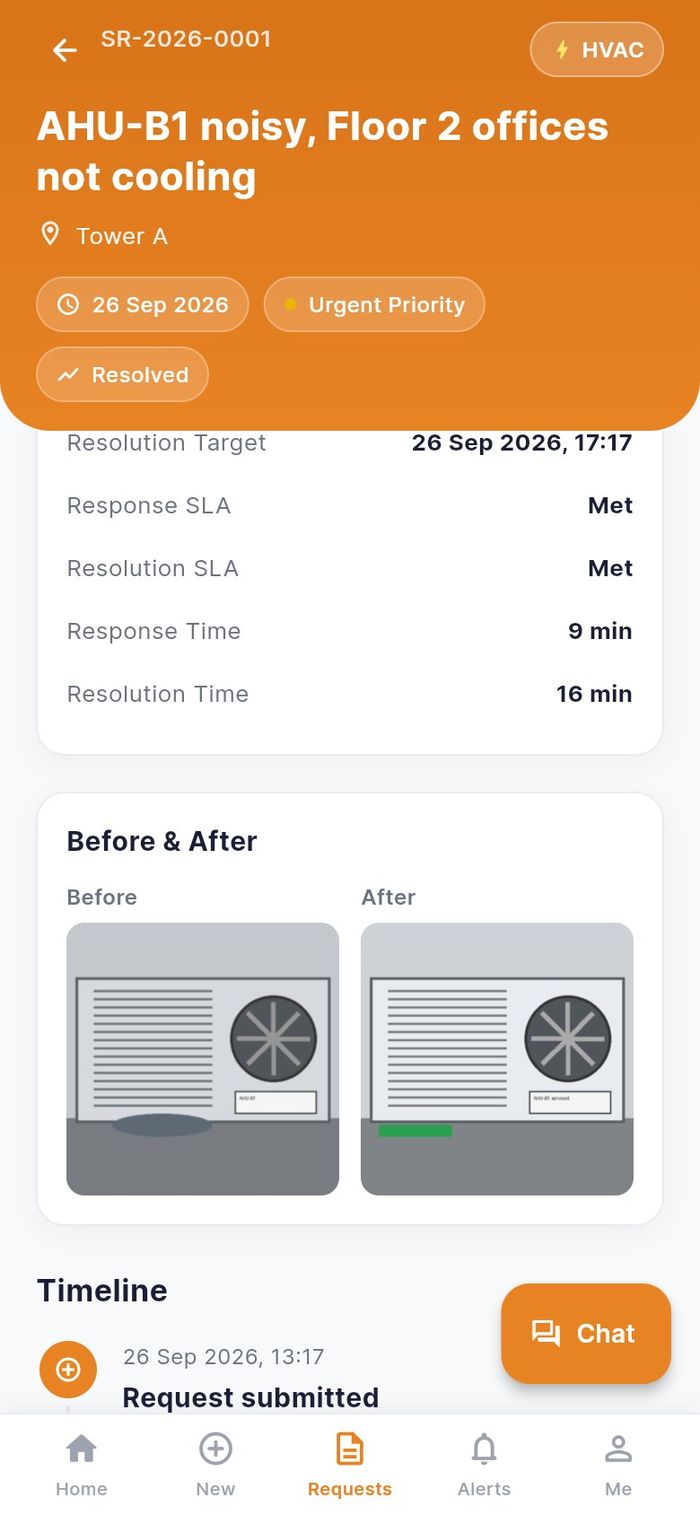
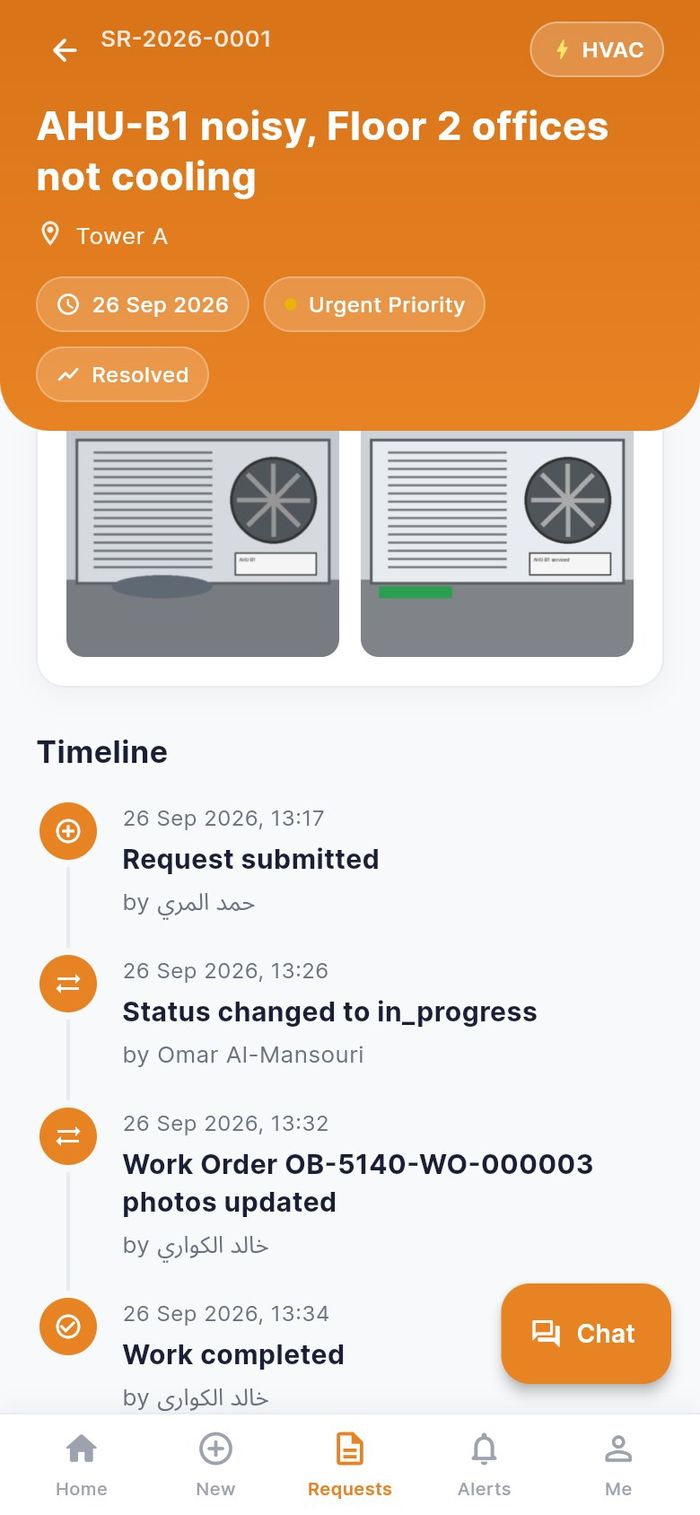
The orange header shows the request number, category, title, place, date, priority and status. Below it:
| Section | What you find |
|---|---|
| Service Request Information | Number, title, type, priority, status, category, sub-category, asset, location, description, and after completion the work done |
| Scheduling | Created, started and completed times, SLA deadline, estimated and actual time |
| Assigned Team | The team and the technician on the job |
| SLA & Time | Response and resolution targets, whether each was met, and how long each took |
| Before & After | Your photo and the technician's photo after the repair |
| Timeline | Every step with date, time and who did it |
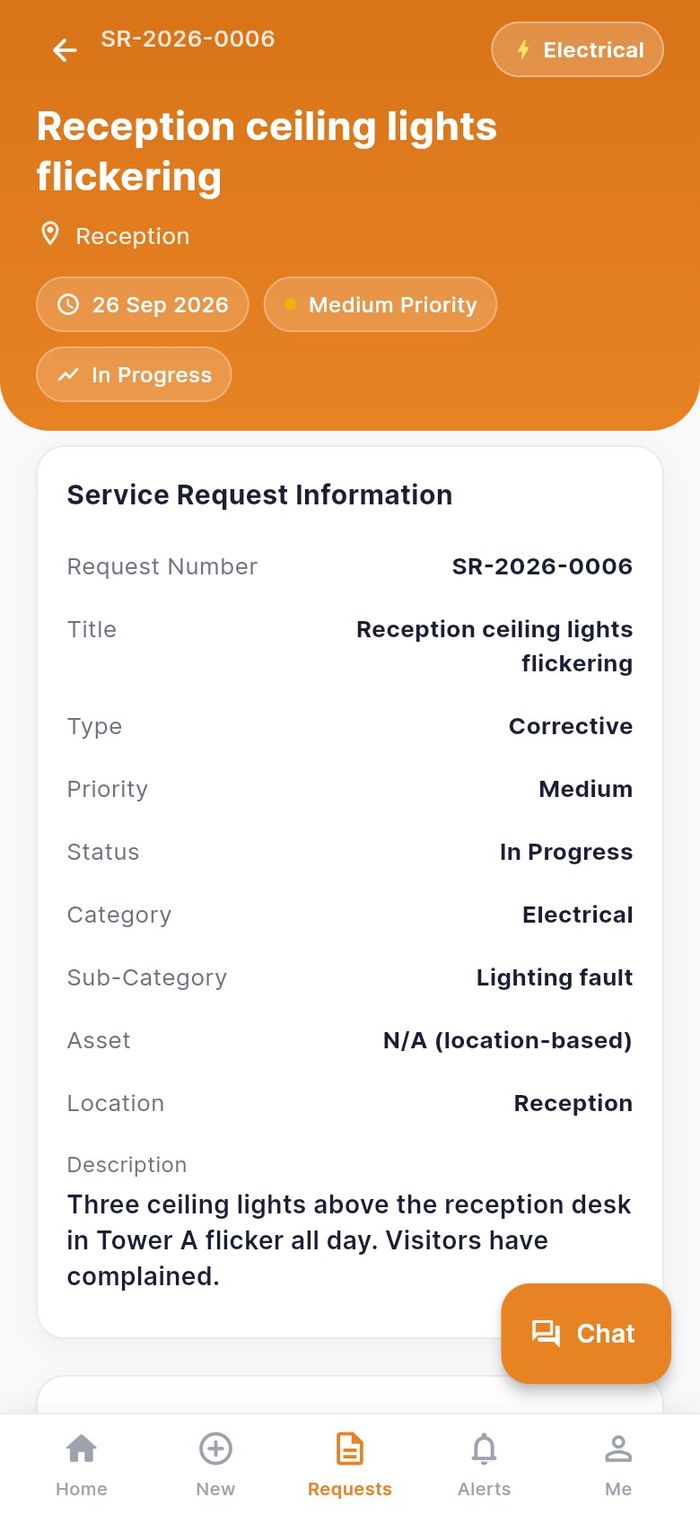
The screen refreshes by itself when the job moves. The Chat button stays in the corner.
Chat about a request
- Who: any requestor
- Where: request detail → Chat
Each request has one conversation with the technician and supervisor on the job.
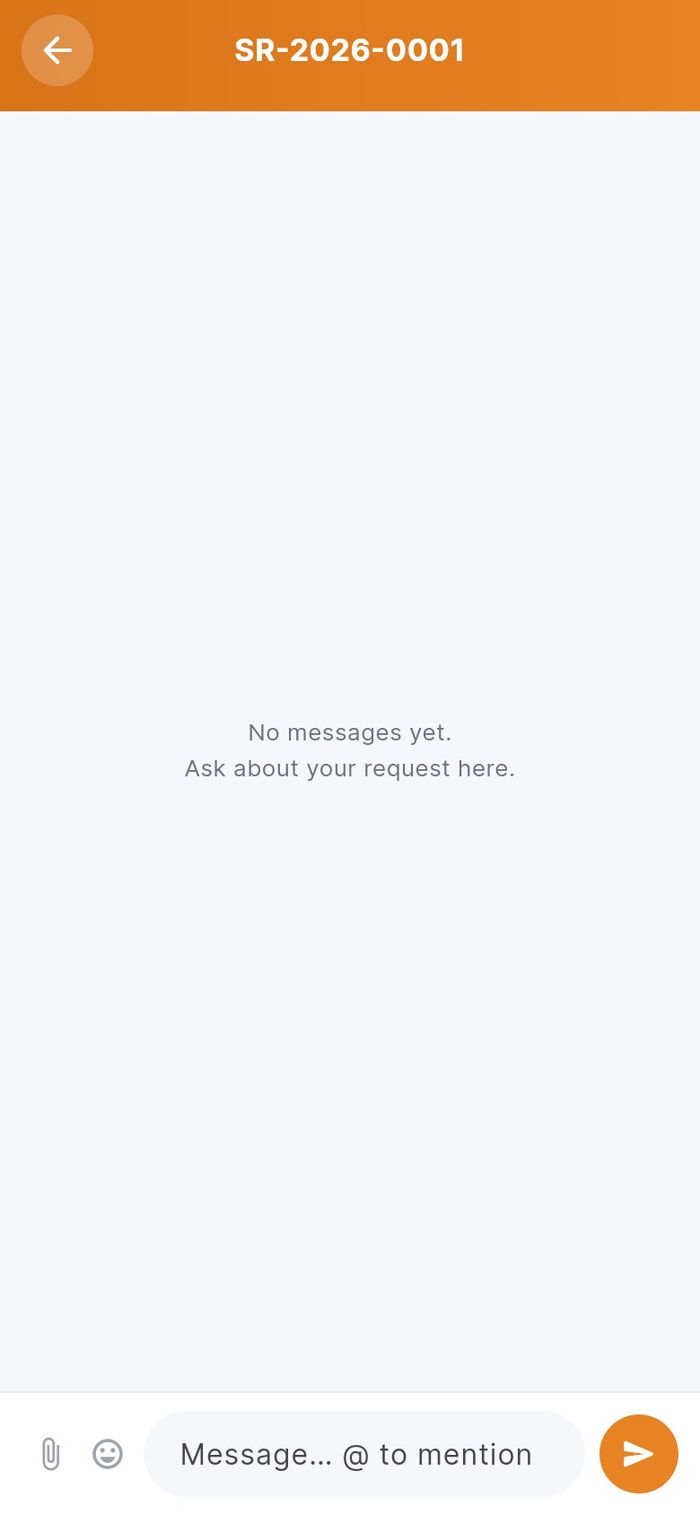
- Open the request and tap Chat. The conversation is titled with your request number.
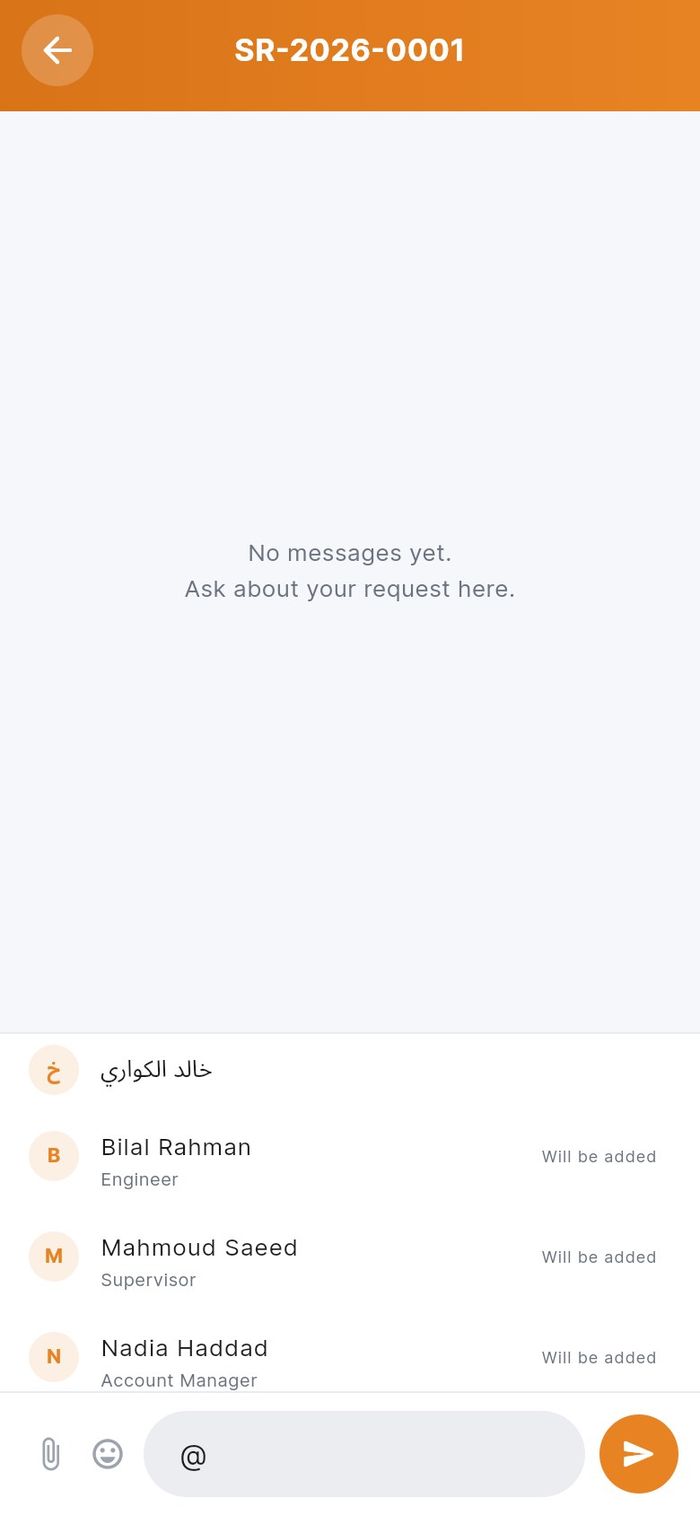
- Type in Message… @ to mention and tap the send button.
- To address someone, type
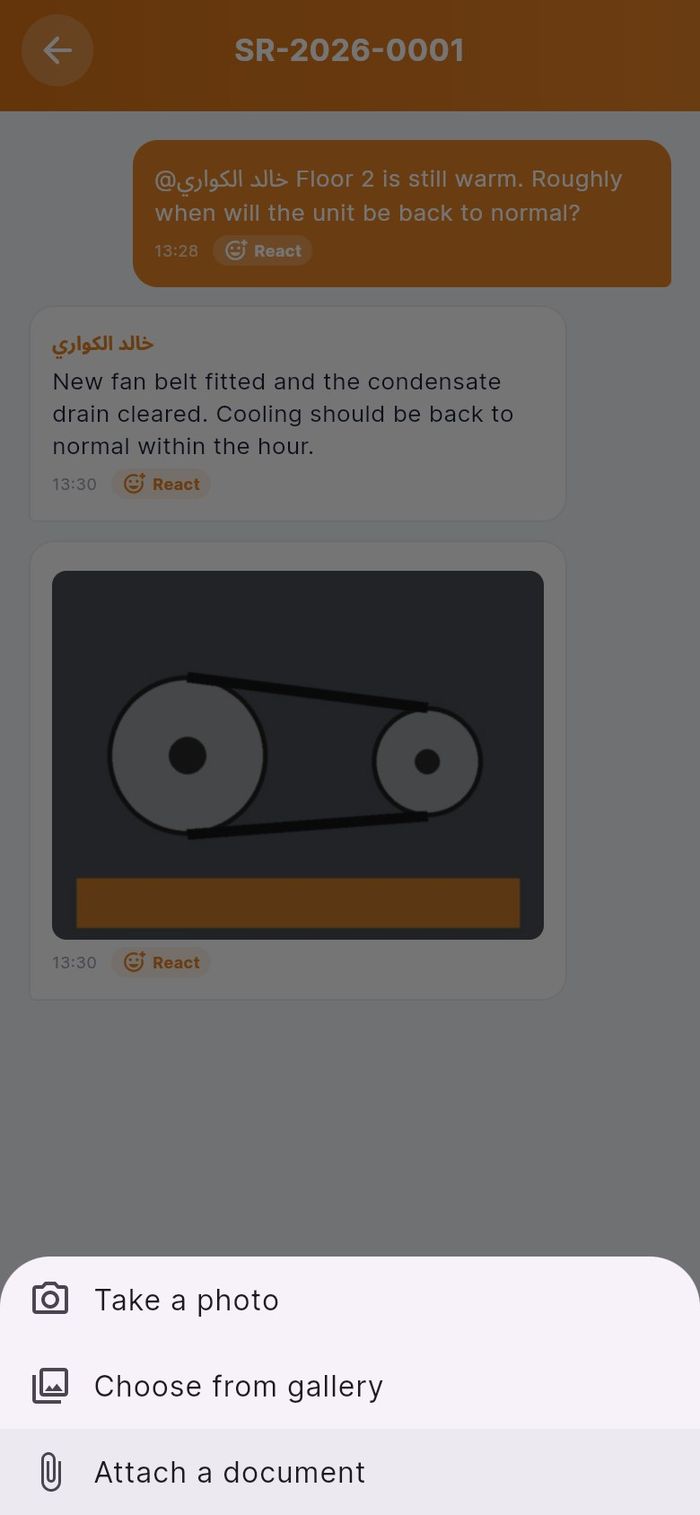
@and pick the name. People marked Will be added join the conversation when you send. - To attach something, tap Attach and choose Take a photo, Choose from gallery or Attach a document.
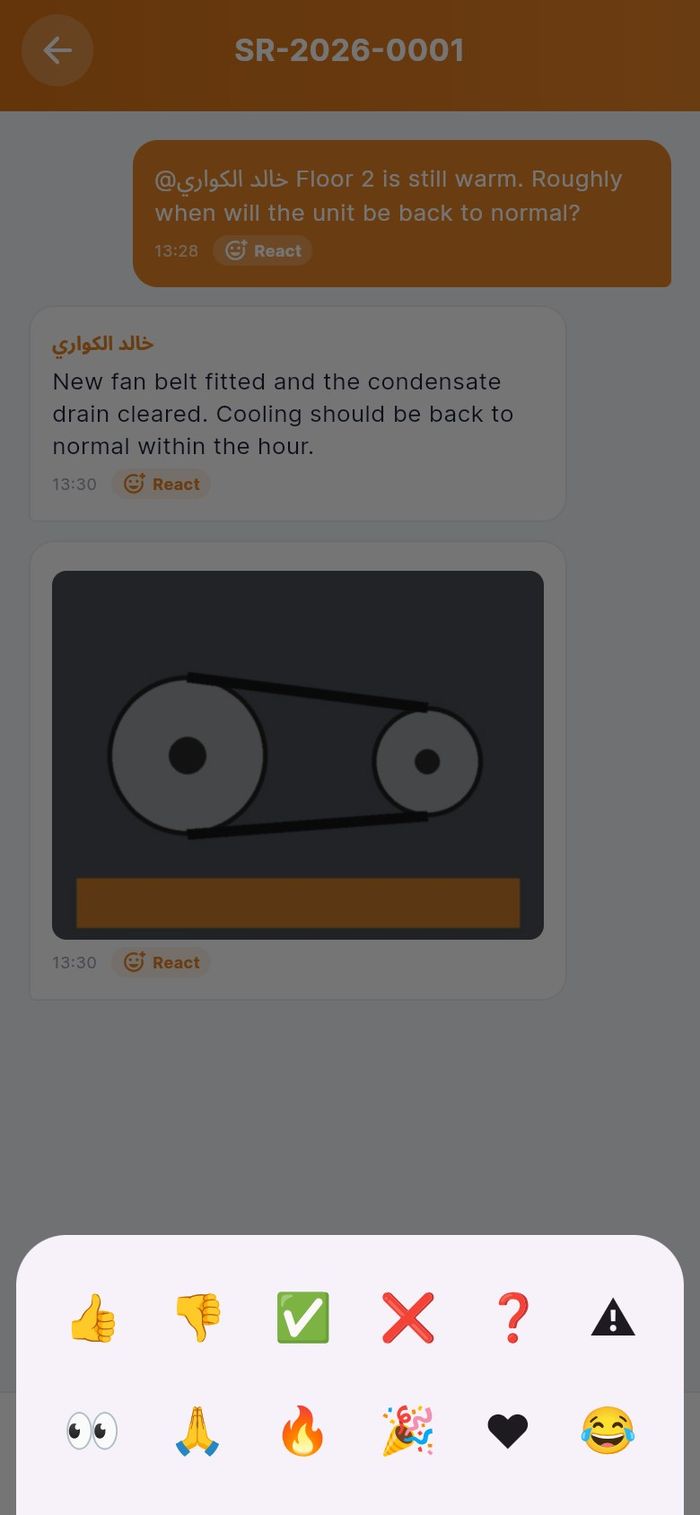
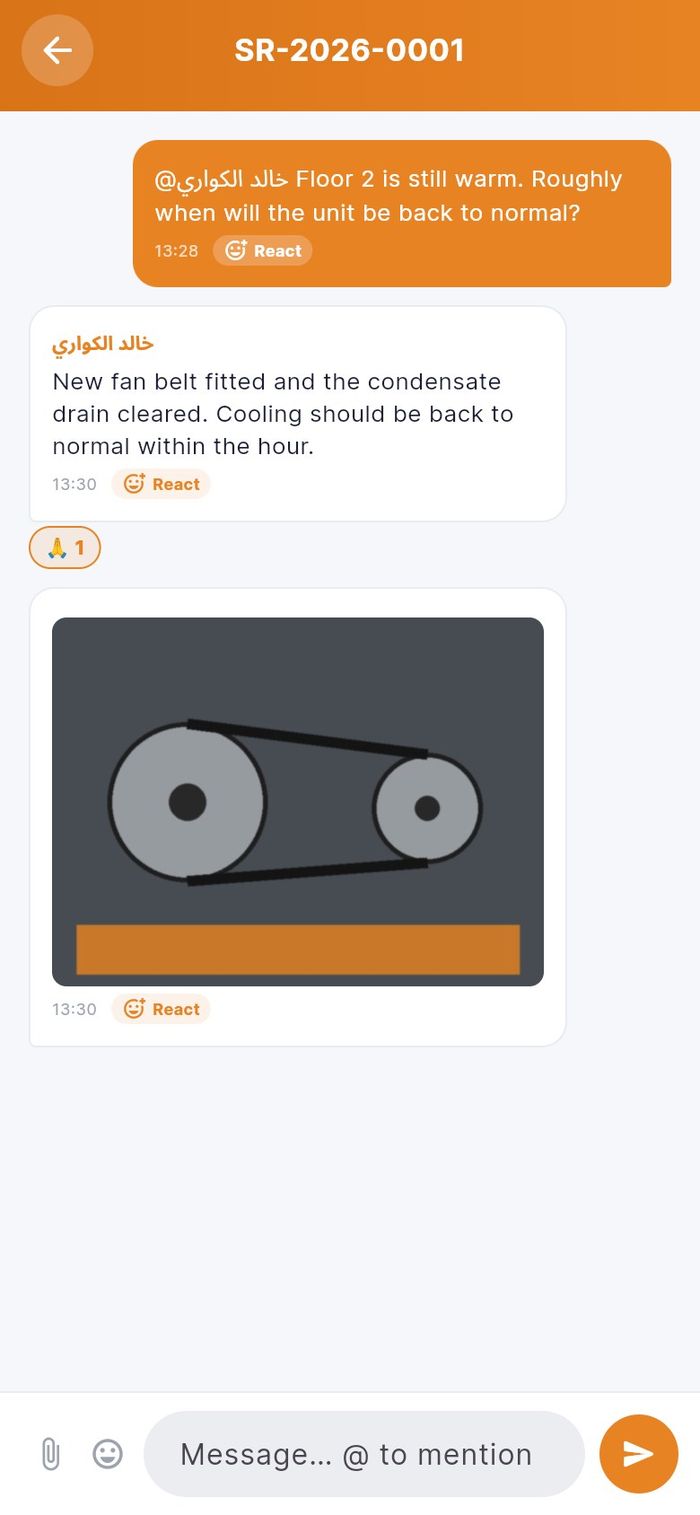
- To react to a message, tap React under it and pick an emoji.
Replies arrive while the screen is open, and as alerts when it is not.
Notifications
- Who: any requestor
- Where: Alerts tab, or the bell on Home
You are alerted when a request is received, assigned or completed, when the team closes it, when a technician writes in the chat, when an SLA is at risk, and when a quotation waits for you.
- Open Alerts. Unread alerts have an orange edge and dot.
- Tap an alert. A chat alert opens the conversation; a request alert opens the request. The alert is then removed from the list.
- Tap Mark all read to clear the unread count.
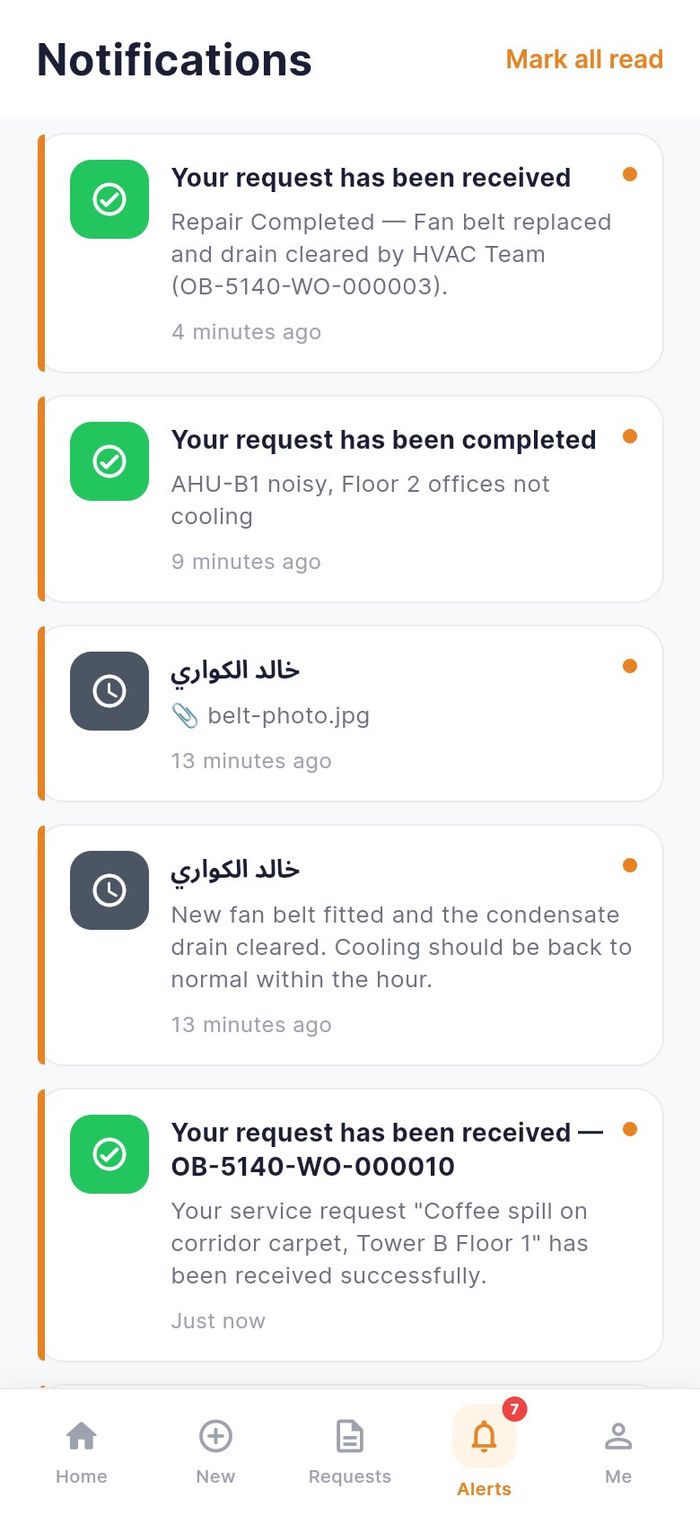
Choose which alerts you get in Me → Notification Preferences (see Notification preferences).
Approve or reject a quotation
- Who: the requestor the quotation is addressed to
- Where: request detail, quotation card
When a repair needs work outside the normal service (for example new parts at extra cost), the facilities team can send you a quotation on your request. You get an alert, and a card appears on the request.
- Open the request. The card shows Quotation with its number, the status SENT, the total amount in QAR, the description and Valid until date.
- Tap Approve to accept the cost, or Reject to refuse it.
- The app confirms Quotation approved or Quotation rejected. The card shows the new status and the buttons disappear.
Rate the service
- Who: the requestor who raised the request
- Where: request detail, card Rate this service at the bottom
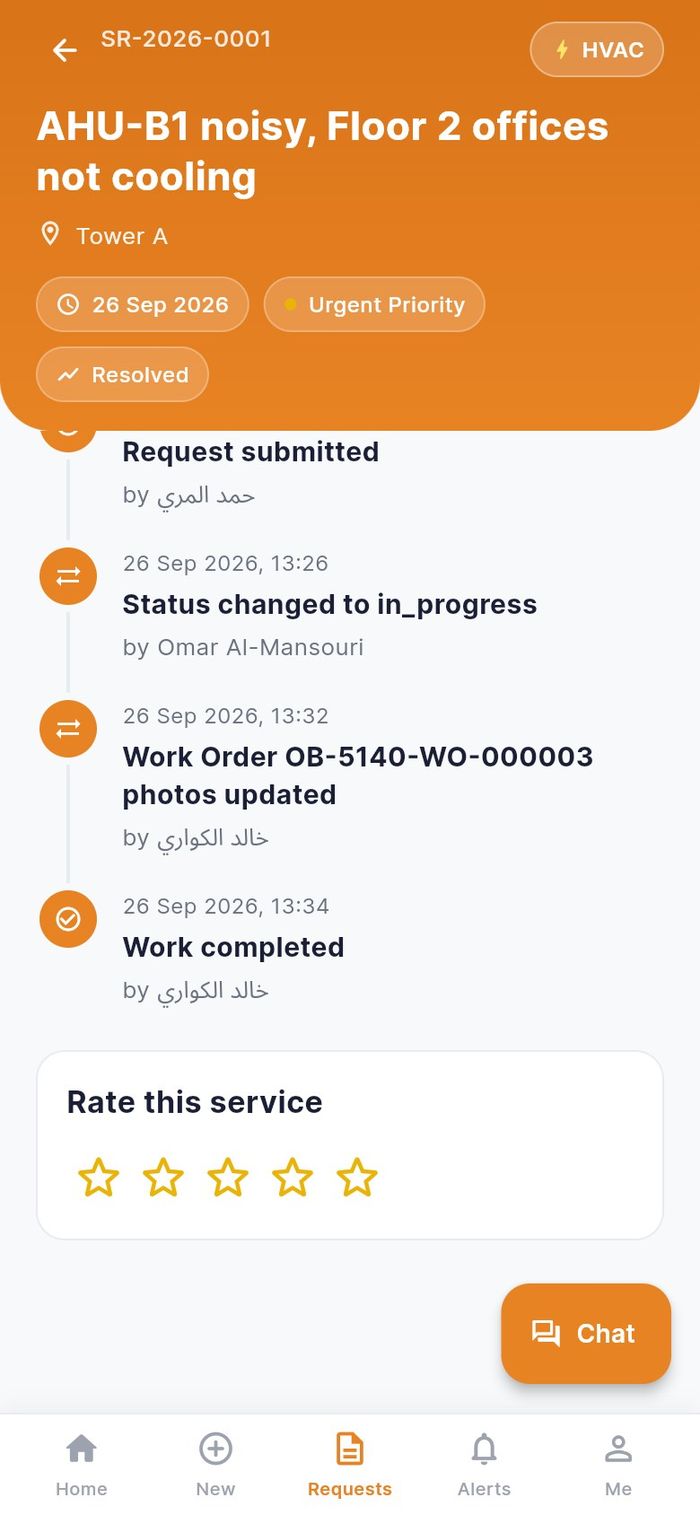
When a request is Resolved, the Rate this service card appears under the timeline.
- Open the resolved request and scroll to the bottom.
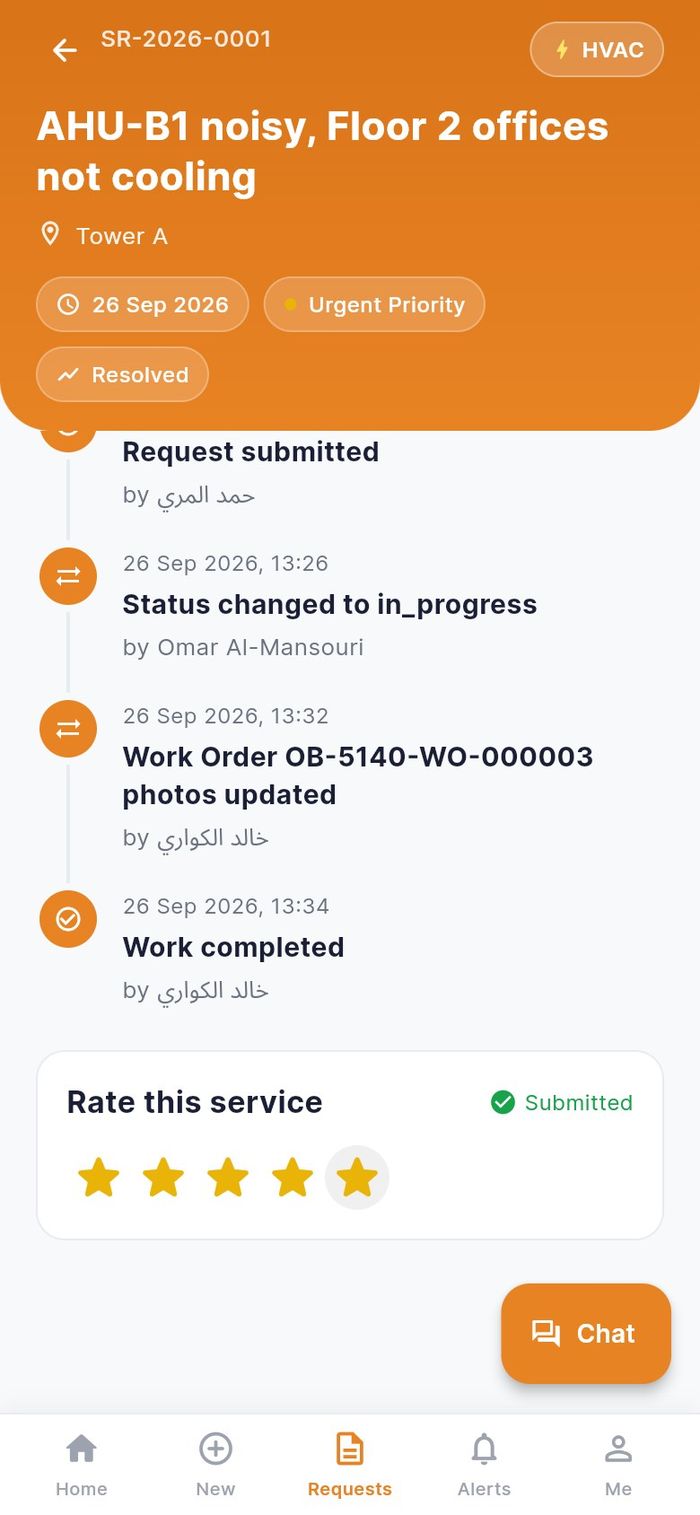
- Tap a star: one star is poor, five is excellent. The rating is sent at once.
- The app says Thank you — your rating was submitted and the card shows Submitted.
What the app does not do
- Cancel a request. Cancelling is done by the facilities team. Ask in the chat or email support, quoting the request number.
- Reopen or reject finished work. If the fault is back, raise a new request and mention the old number, or write in the chat of the old one.
- Choose the technician or the visit time. The team assigns and schedules the job.
- Edit a request after sending it. Add corrections in the chat.
Your account
The Me tab holds your profile and the app settings.
Profile
- Who: any requestor
- Where: Me tab, then Edit Profile
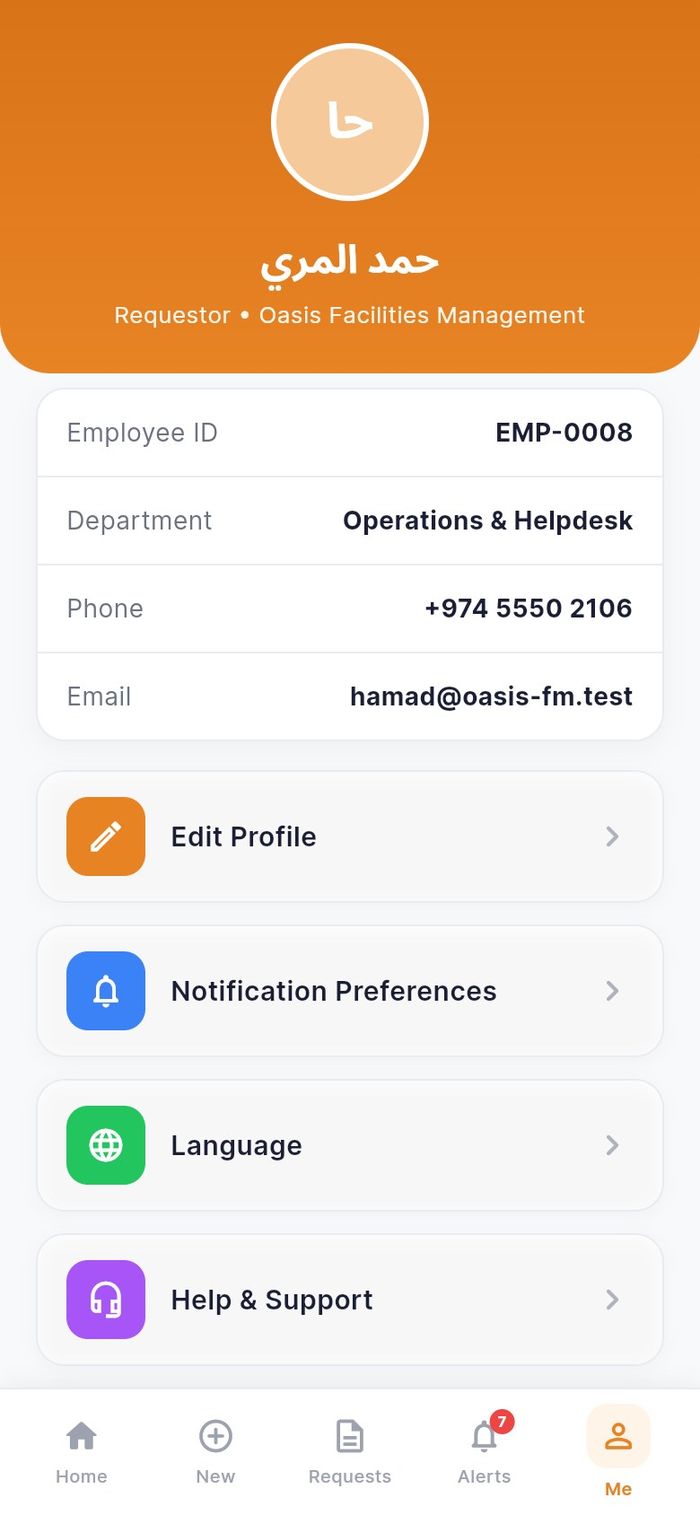
Me shows your name, role and company, and your Employee ID, Department, Phone and Email. Guests see their Guest ID, Room and Stay instead.
To change your details:
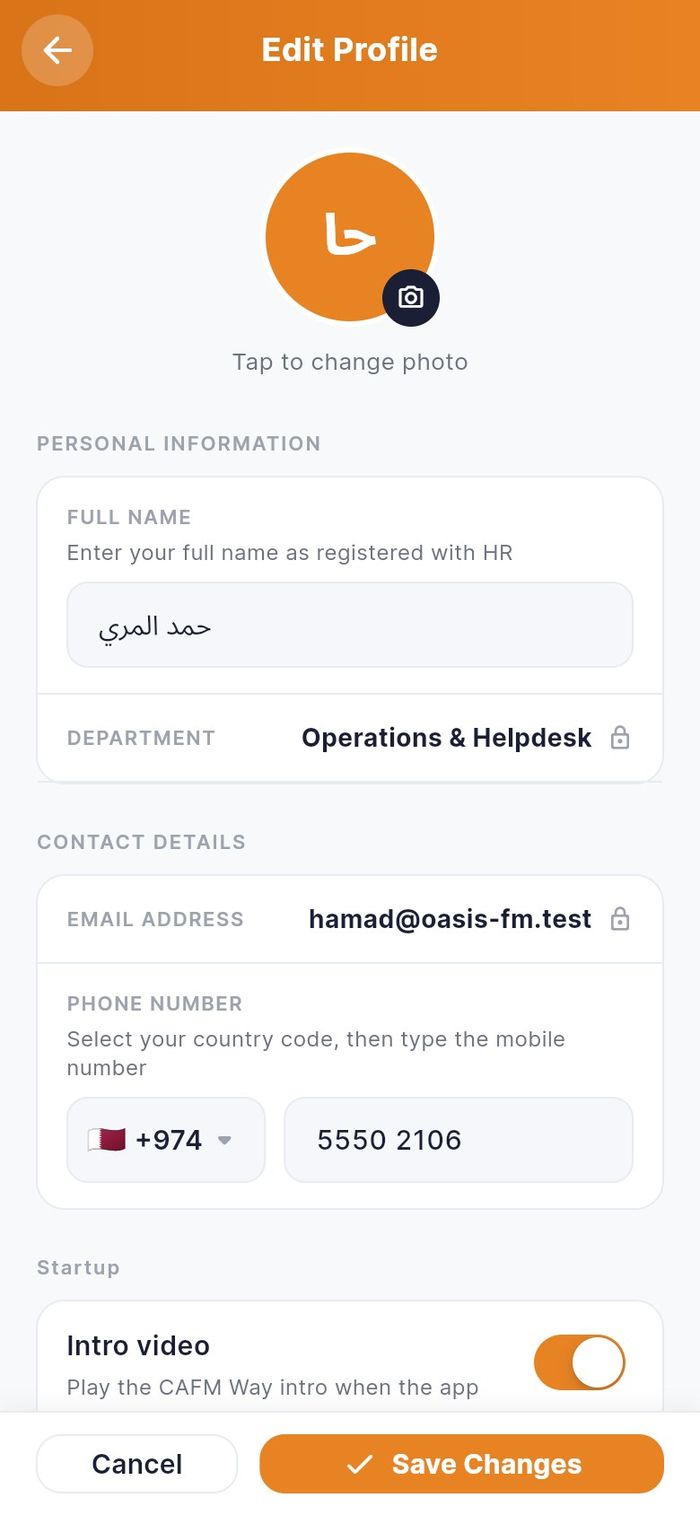
- Tap Edit Profile.
- Change FULL NAME or the PHONE NUMBER (pick the country code, then type the number).
- Tap Save Changes. The app says Profile updated successfully.
Email and department are shown with a lock: only the administrator can change them. Guests see YOUR STAY, which only the front desk can change.
To change your password, scroll to SECURITY, type CURRENT PASSWORD, then NEW PASSWORD (at least 6 characters) and CONFIRM PASSWORD, and tap Save Changes. The app signs you out; sign in with the new password.
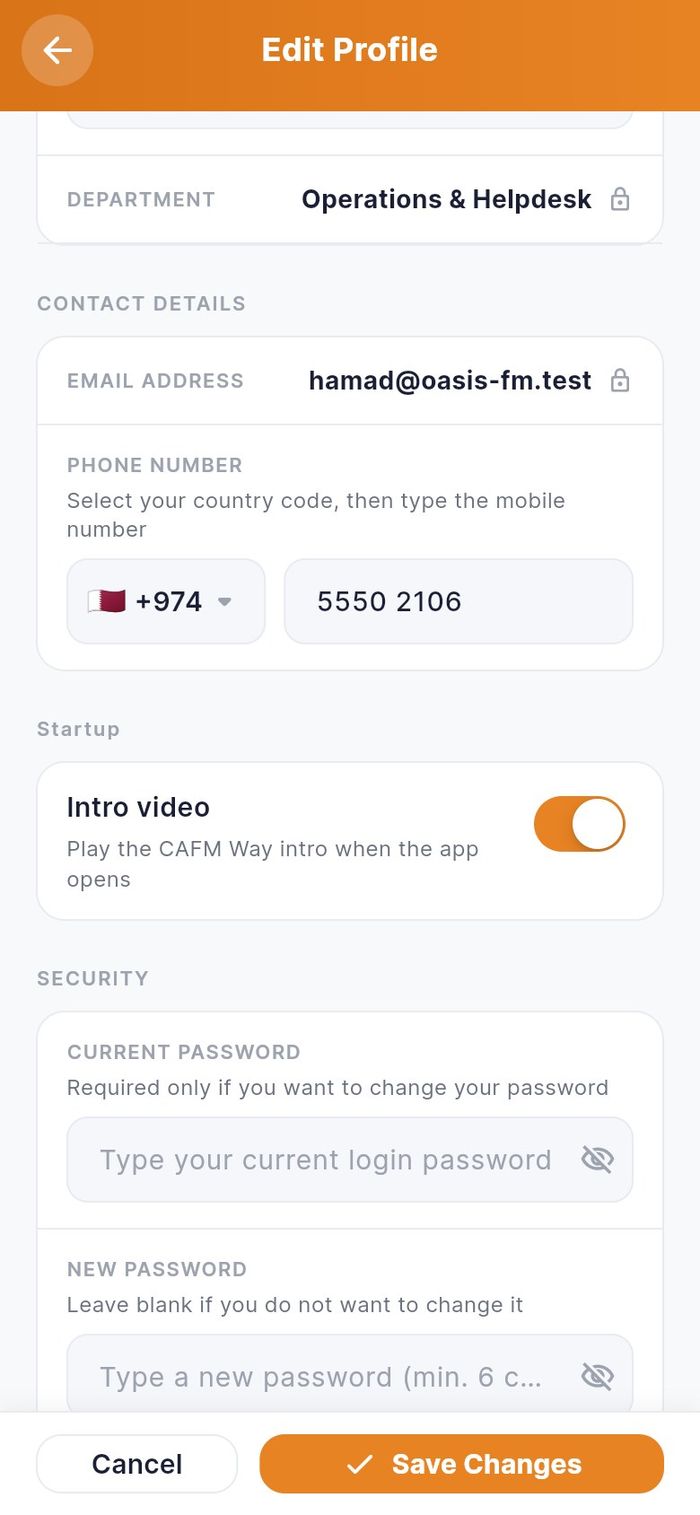
The Intro video switch under Startup turns the opening video on or off.
Notification preferences
- Who: any requestor
- Where: Me → Notification Preferences
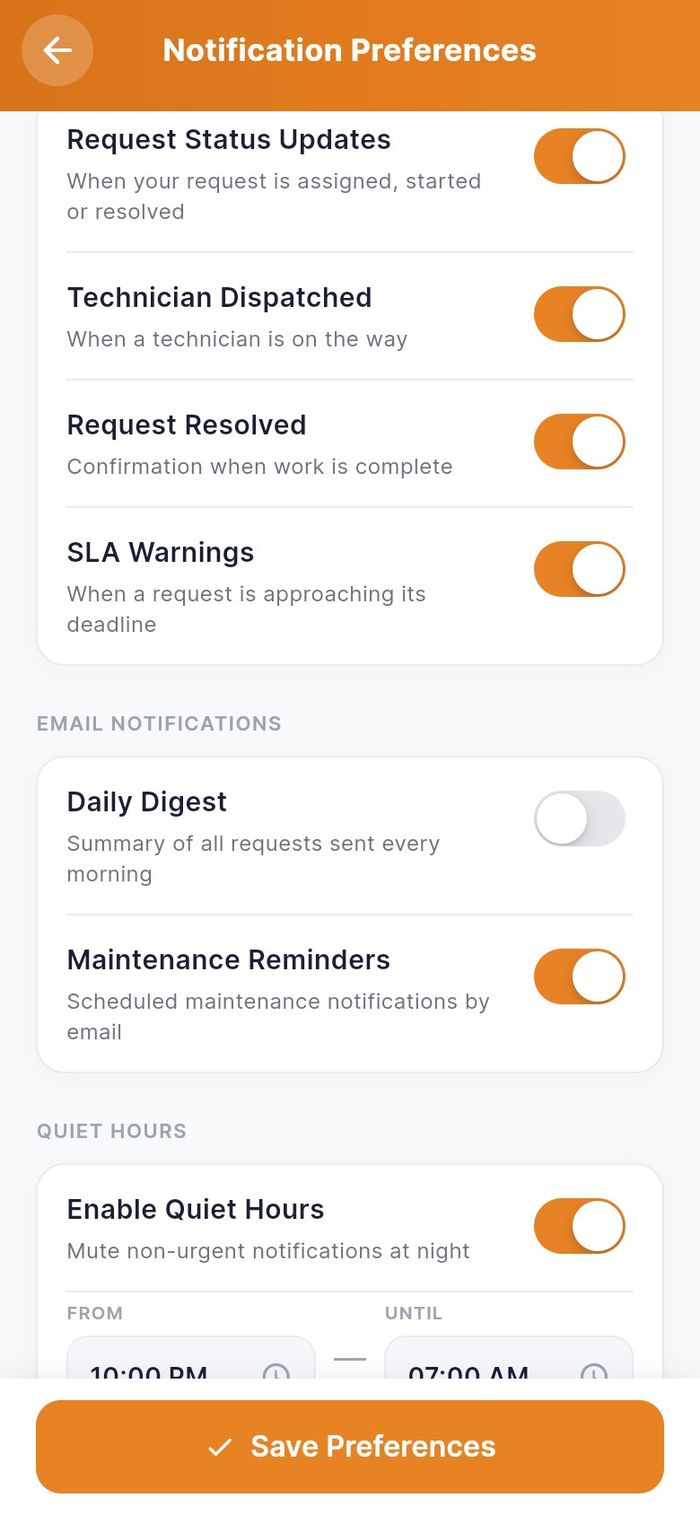
- Under PUSH NOTIFICATIONS, switch Request Status Updates, Technician Dispatched, Request Resolved and SLA Warnings on or off.
- Under EMAIL NOTIFICATIONS, choose Daily Digest and Maintenance Reminders.
- Under QUIET HOURS, switch on Enable Quiet Hours and set FROM and UNTIL to mute non-urgent alerts at night.
- Tap Save Preferences. The app says Preferences saved successfully.
Language and date format
- Who: any requestor
- Where: Me → Language
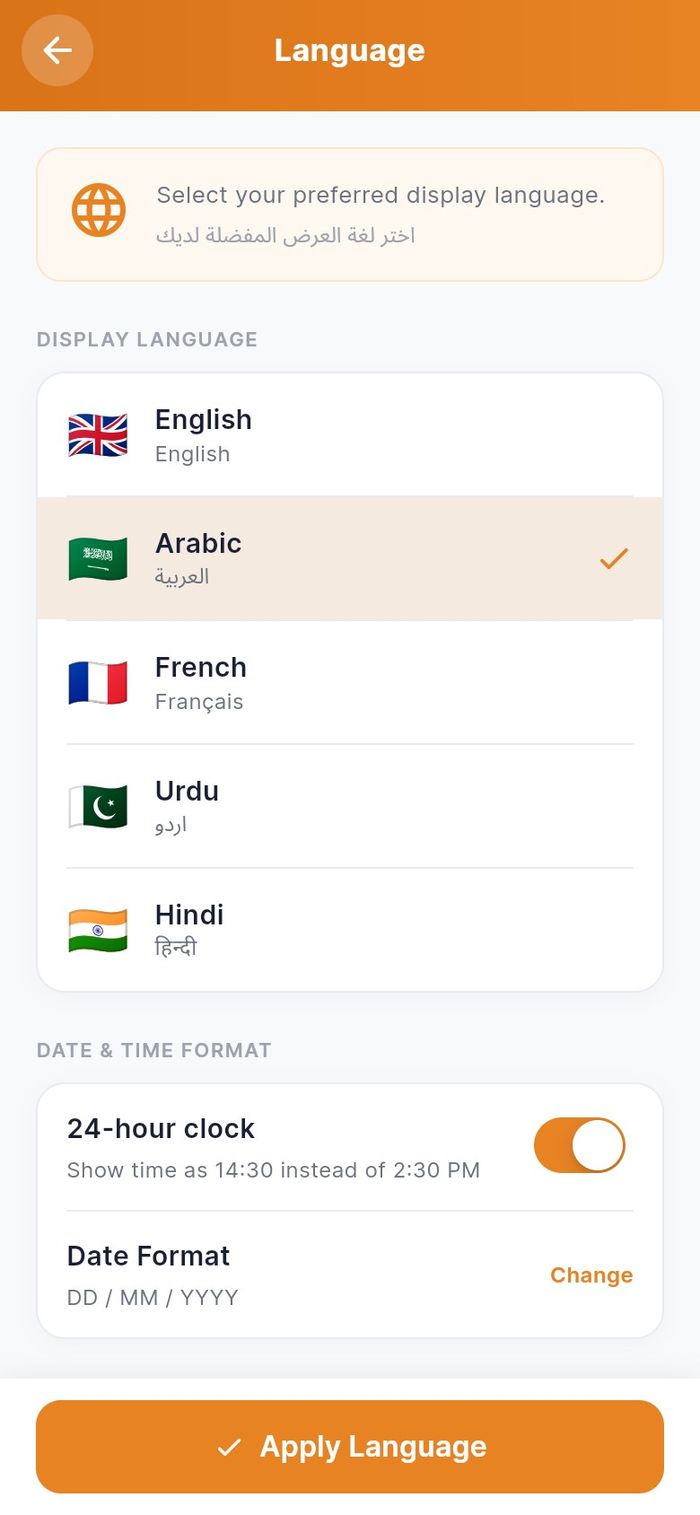
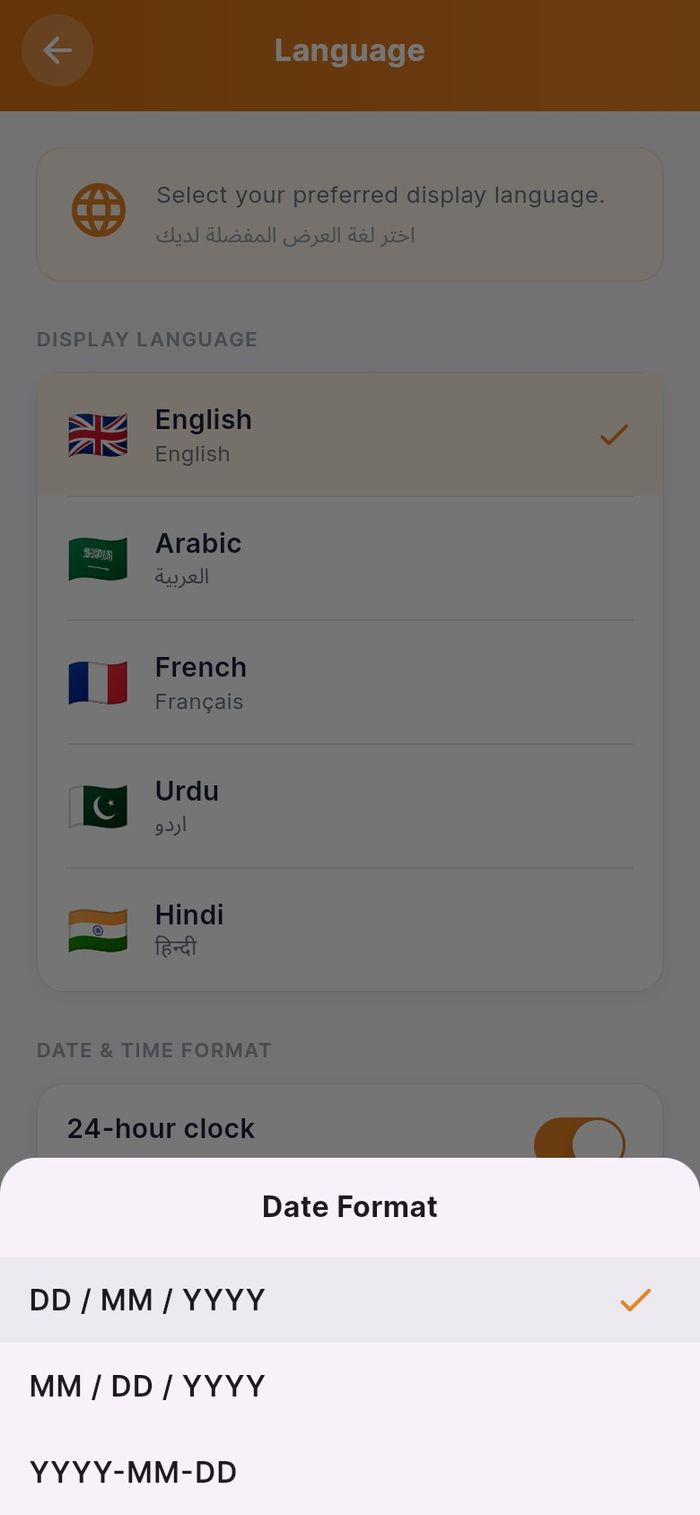
- Under DISPLAY LANGUAGE, tap English, Arabic, French, Urdu or Hindi.
- Under DATE & TIME FORMAT, switch 24-hour clock on or off, and tap Change next to Date Format to pick DD / MM / YYYY, MM / DD / YYYY or YYYY-MM-DD.
- Tap Apply Language. The whole app switches at once; Arabic and Urdu turn the layout right to left.
Help & Support
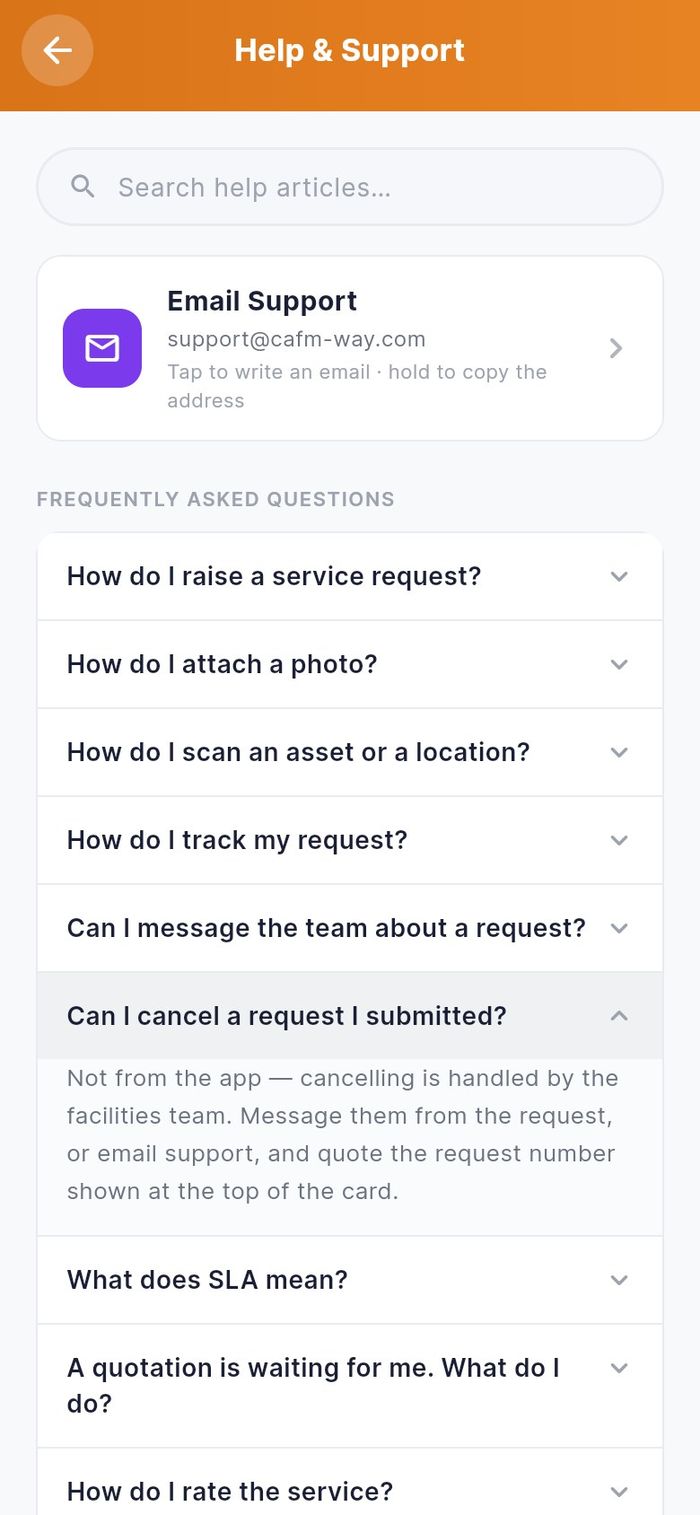
- Where: Me → Help & Support
The screen has a search box, Email Support (tap to write to support@cafm-way.com, hold to copy the address) and Frequently Asked Questions. Tap a question to open the answer. The app version, privacy policy and terms are at the bottom.
Sign out
- On Me, scroll down and tap Sign Out.
- Confirm with Sign Out in the dialog Are you sure you want to sign out?
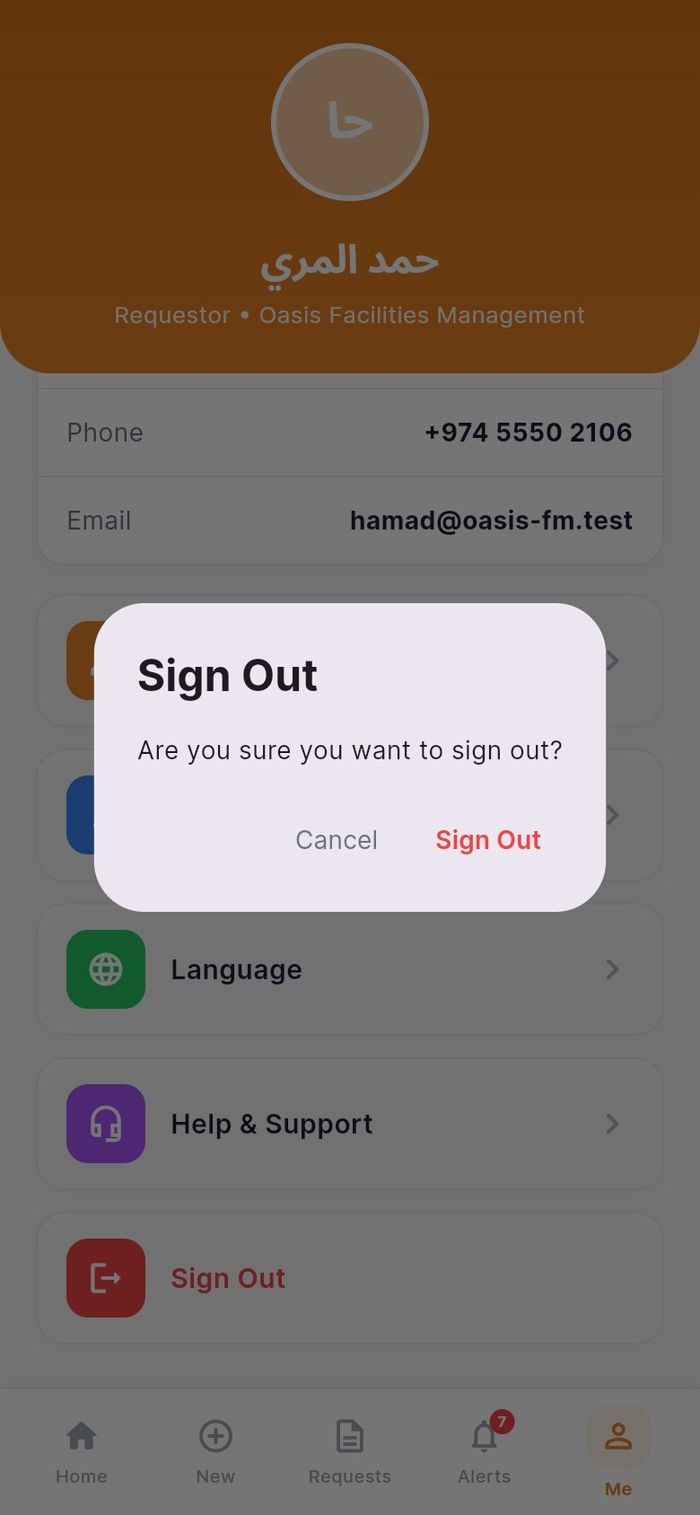
The app returns to the sign-in screen and stops sending alerts to this phone.
App updates
The app checks for a newer version each time it starts.
- A new version is available. A bar at the bottom says Version … is available. Tap Update to install it, or Later to carry on.
- Update required. When your version is no longer supported, a full screen Update required shows your version (You have …) and an Update button. You cannot continue until you install the new version.
- In the browser (
requestor.cafm-way.com), a bar says A new version of the app has been deployed. Tap Reload to load it.